Select how you would like to display your device on the touch panel
You can adjust the volume of your device with the program volume
If you are using mics, the mic tab on the bottom right will show you the main mics in the room and the ability to adjust them
Make sure to select shut down when you are done with the space
How to Connect Wirelessly in Our Spaces
Windows Devices
Press Windows + K on your keyboard to open wireless display options
Select the room you’re in
Enter the 4-digit code on the screen
Apple Devices
Connect through Apple Airplay by going to the top right and select the Control Center
Select Screen Mirror
Select the room you are in
Input the 4-digit code that pops up on the room screen
Unable to Connect through Airplay
Download the Mersive Solstice app if not already installed
Open the Mersive Solstice app
There will be a pop-up that will ask for access to screen record, select Accept
Input the IP address of the Solstice pod into your app
Input the 4-digit code that pops up on the room screen
Choose what content you want to display into the room
Guide to Using the AV Bridge
Instructions for Zoom
Plug in the USB cable into your device
Once Zoom is opened up, click on the arrow by the camera
Select AV Bridge for the camera in the room
Click on the arrow by the microphone and select AV Bridge input for microphone
For the speaker, select Extron or Crestron
To confirm that the audio is working properly, select Test Speaker & Microphone
Instructions for Panopto
Plug in the USB cable into your device
Once Panopto is opened up, click on the video input tab
Select AV Bridge for the camera in the room
Click on the audio input tab
Select AV Bridge for the audio input
For additional information or assistance with Zoom or Panopto, please email UW-IT at help@uw.edu or call them at 206-221-5000.
Guide to Locking Our Podiums
Unlock
Insert the key and turn left
Door(s) should unlock and can be opened
Lock
Close the door(s)
Turn the key back to its original position
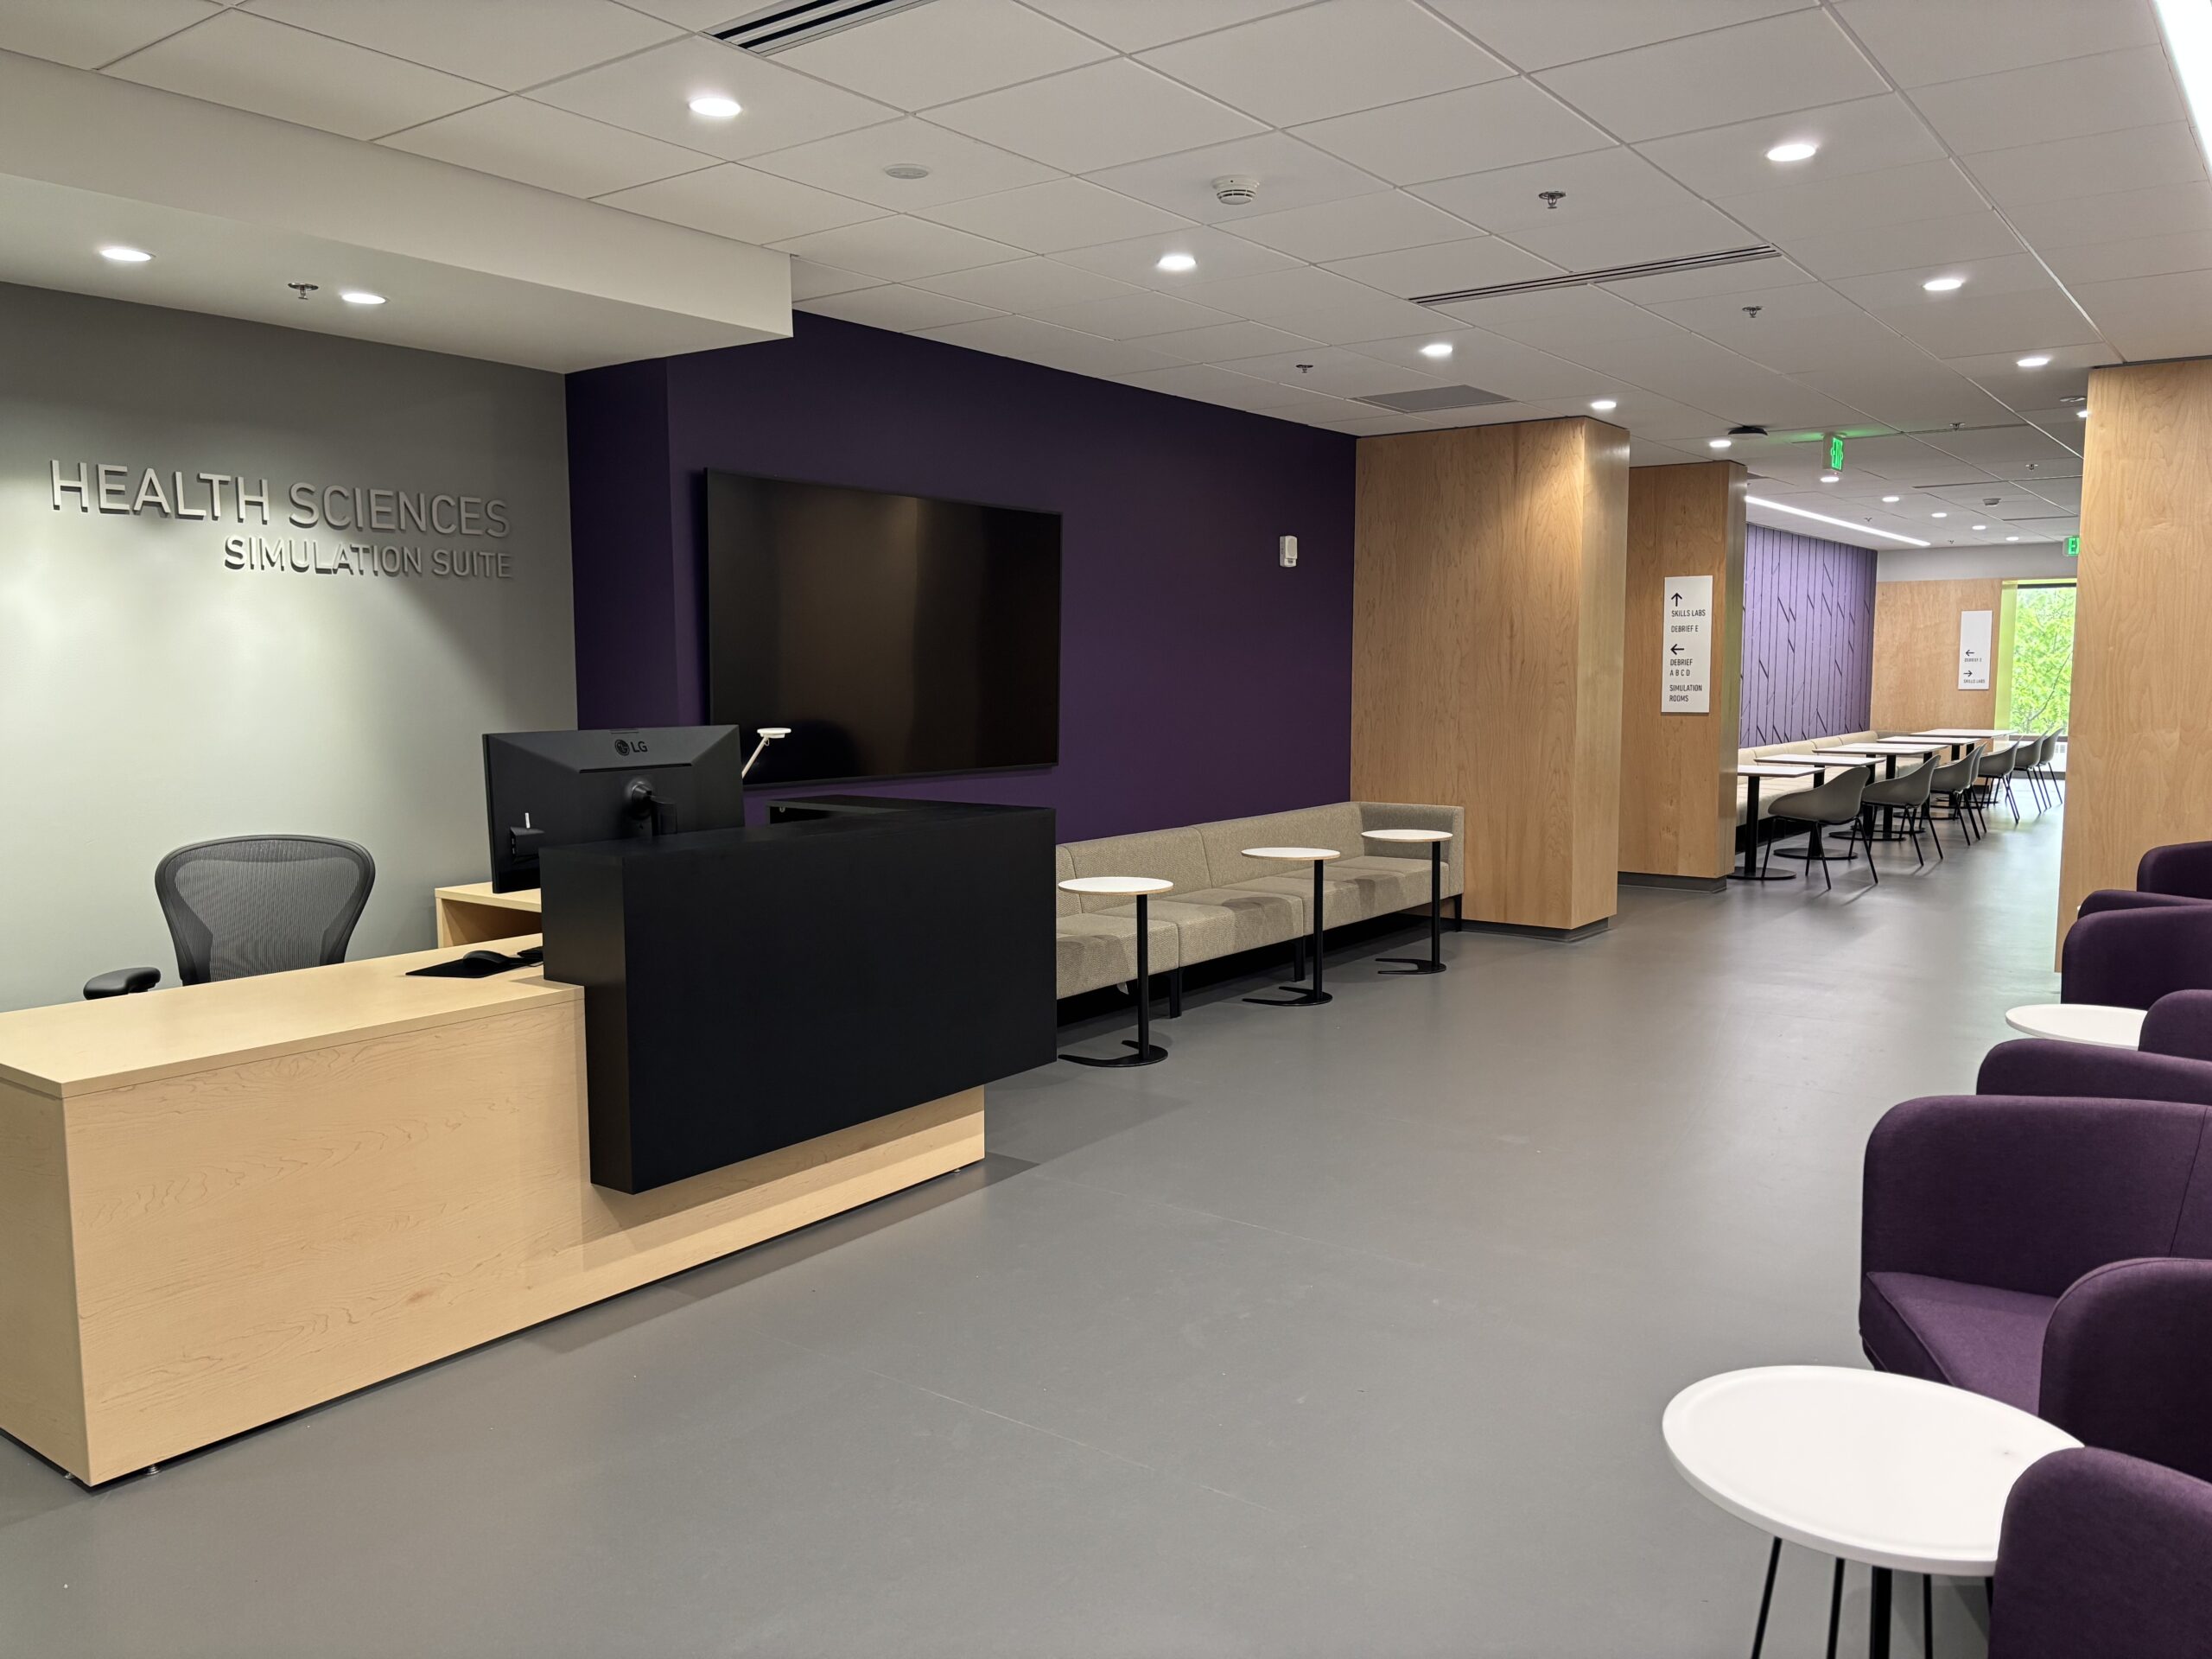
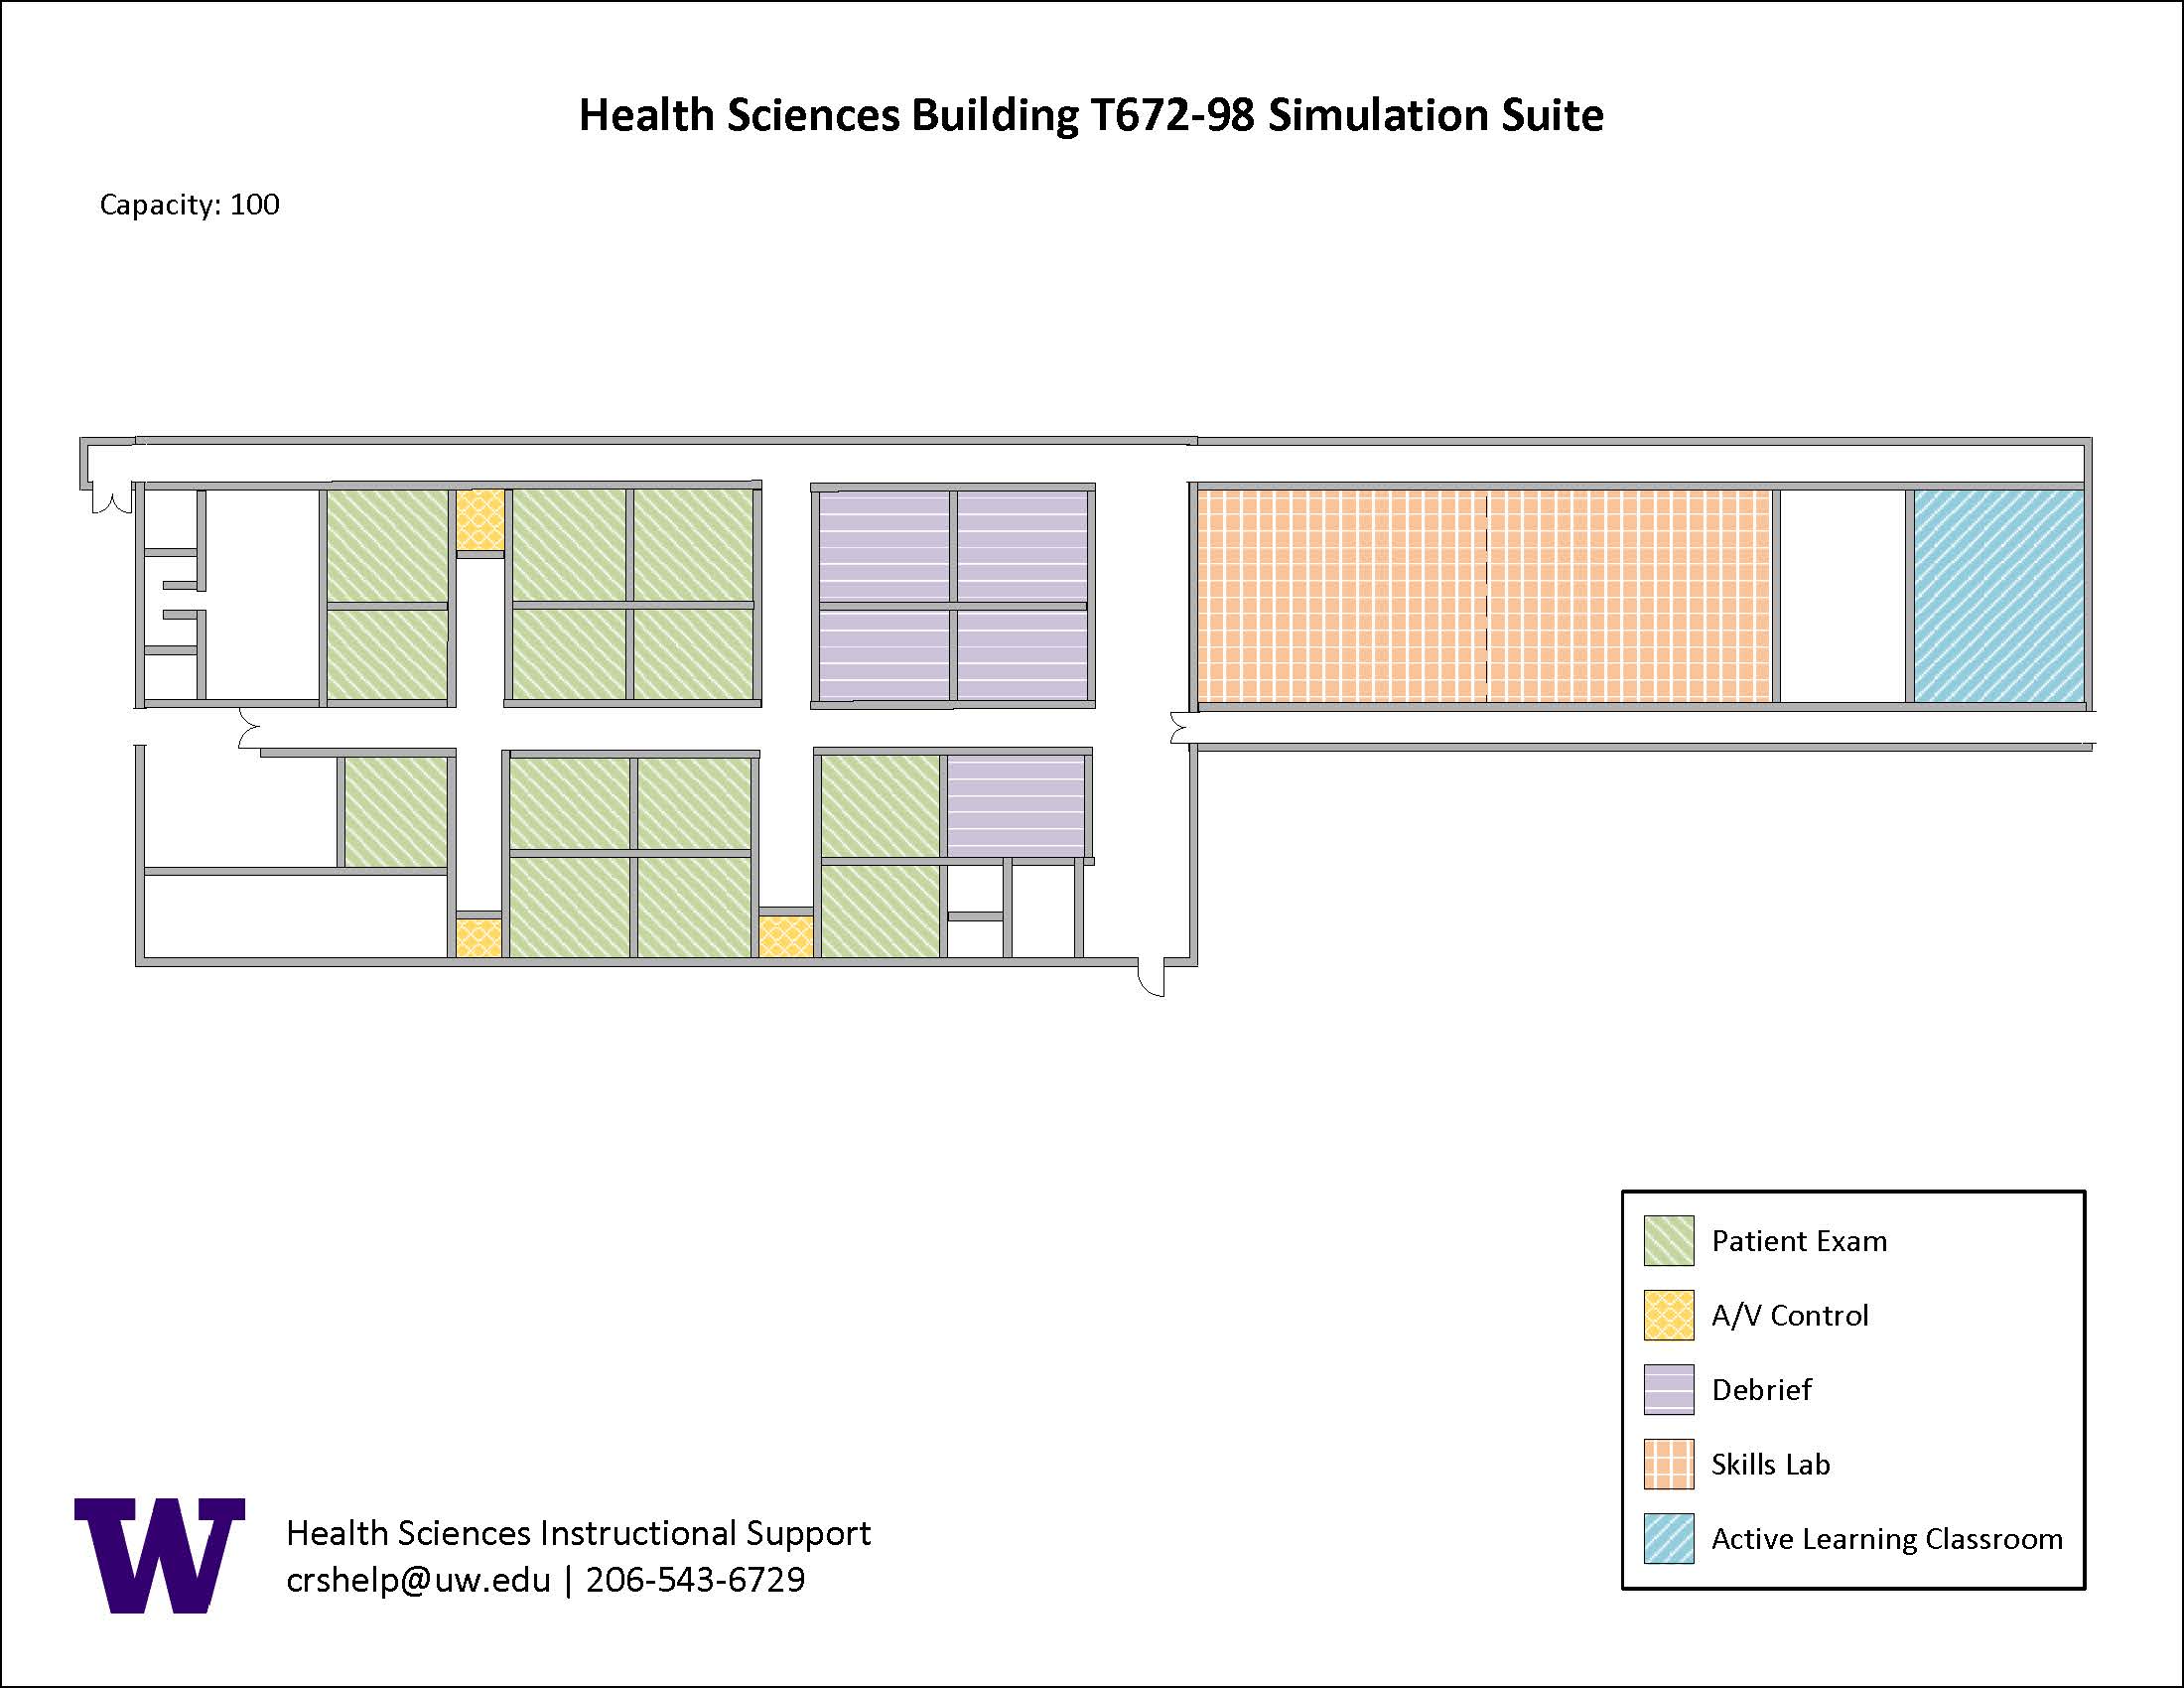
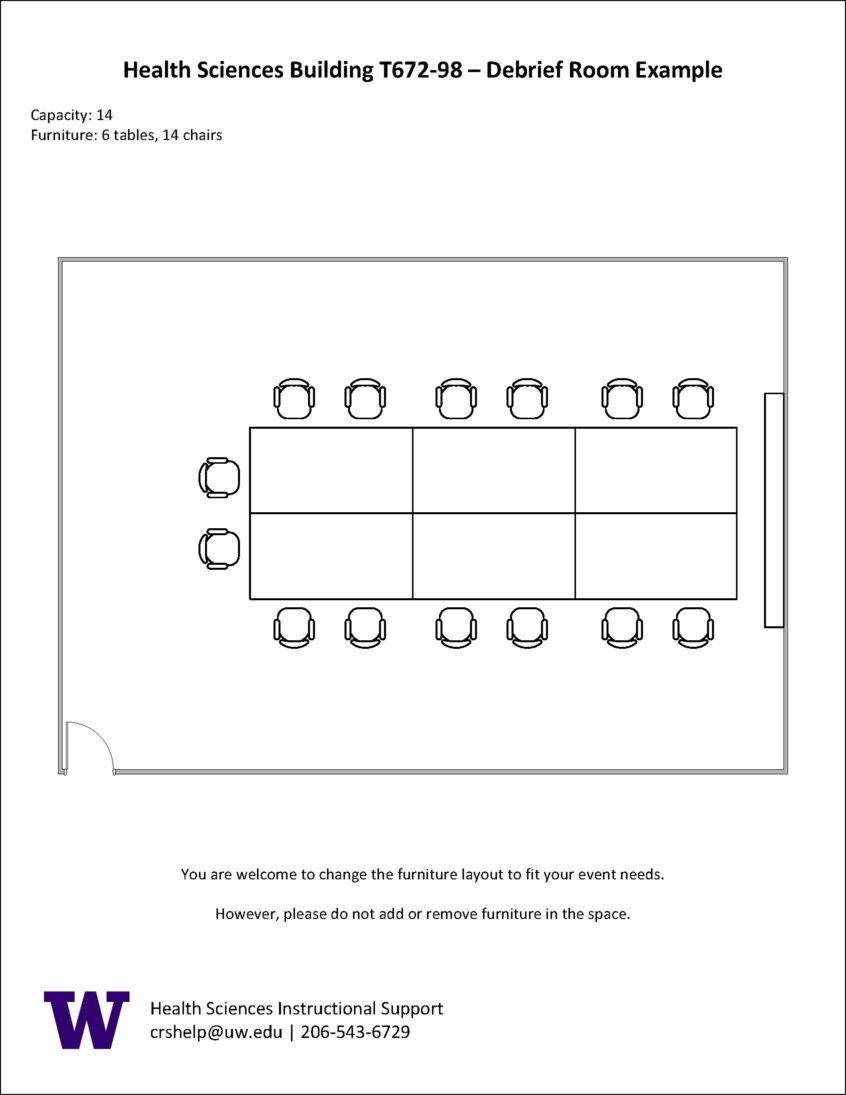
T672-98 Features
T672-98 Features
This room is on the Campus Automated Access Management System (CAAMS). Husky Card access can be granted to up to 5 individuals as part of the reservation process.
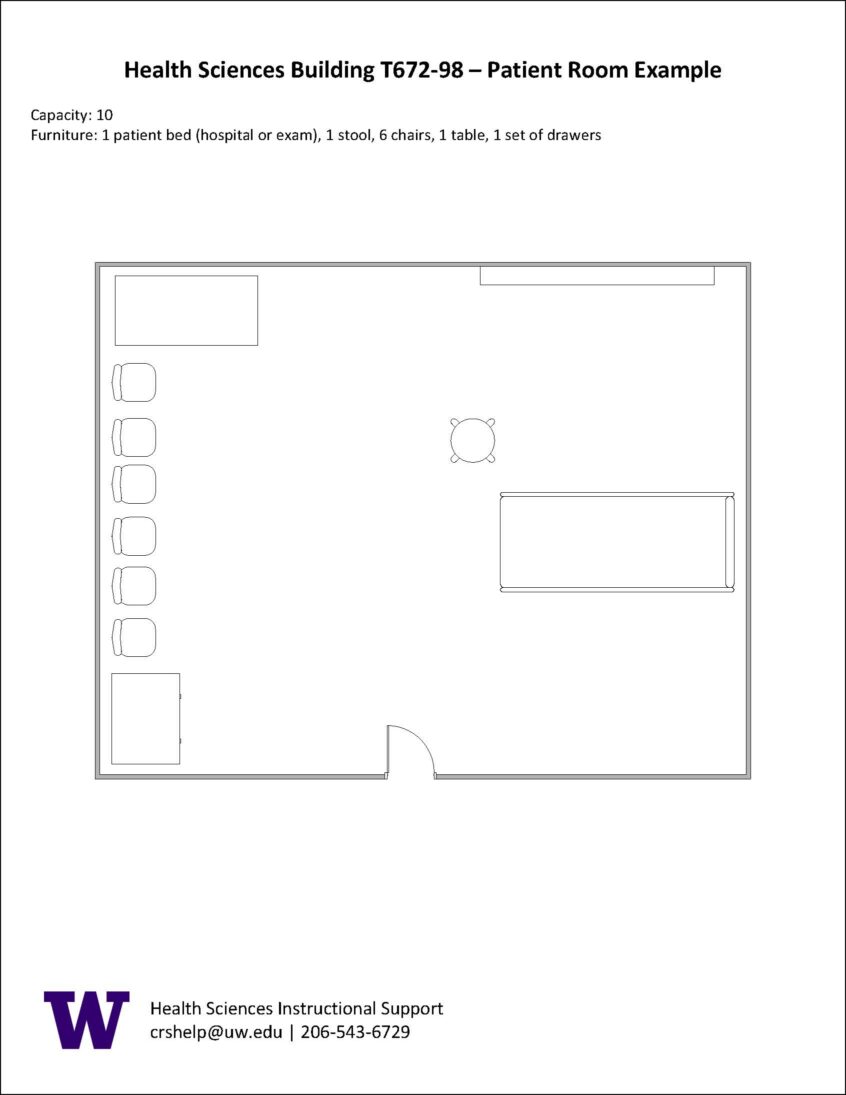
Thirteen (13) Patient Rooms
Hospital and exam beds
Rolling stools, tables, and chairs
Set of drawers
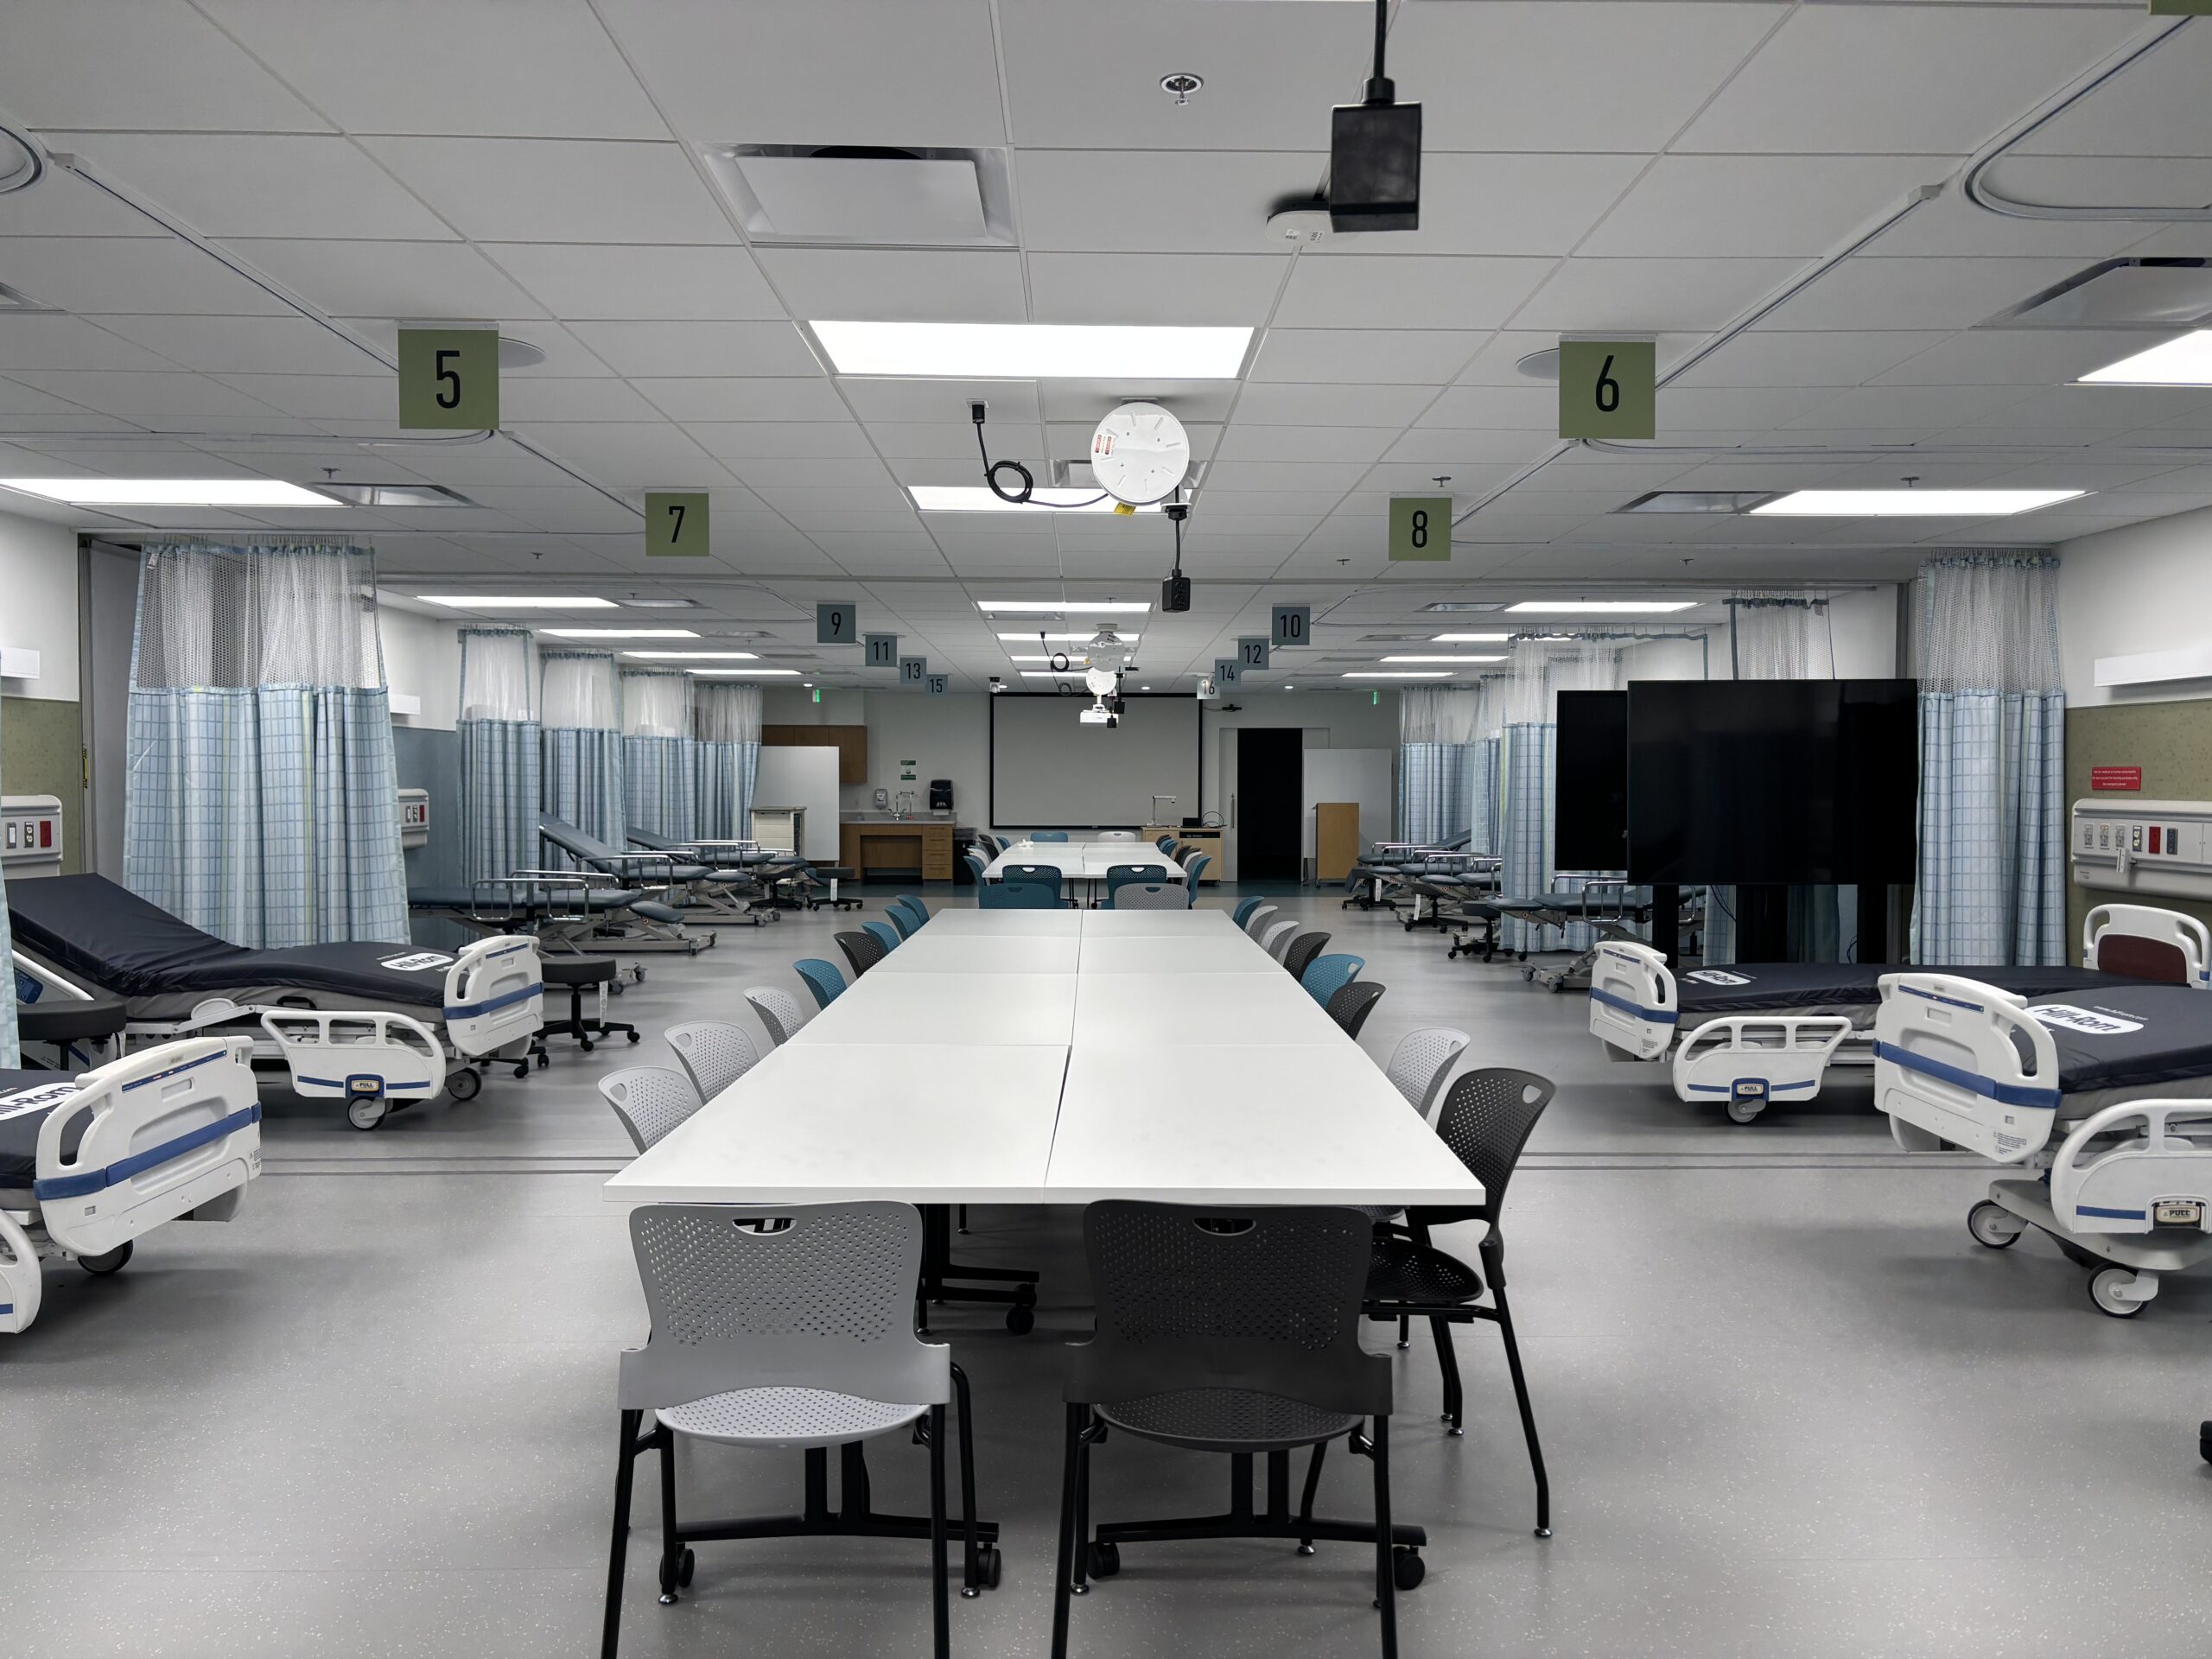
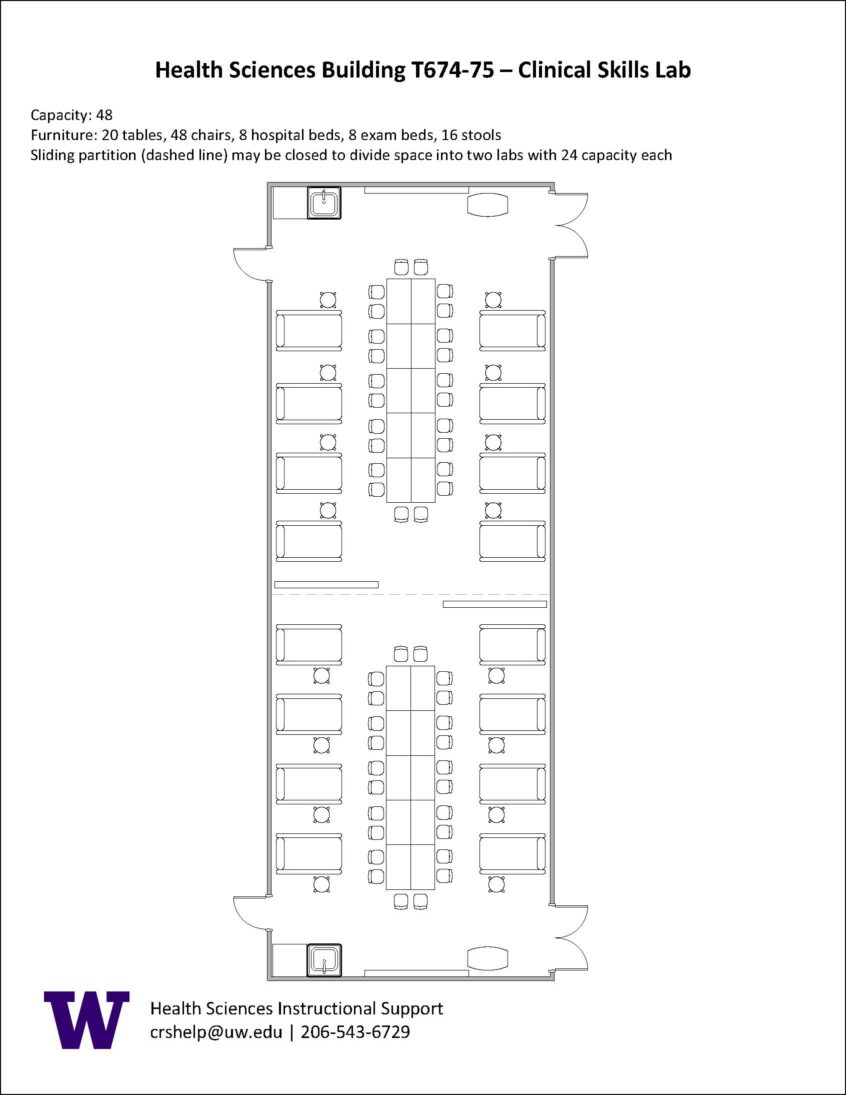
Clinical Skills Lab
48-person seating capacity
Wall partition can be closed to create two (2) 24-person seating capacity labs
Hospital and exam beds
Rolling stools and tables
Gliding chairs
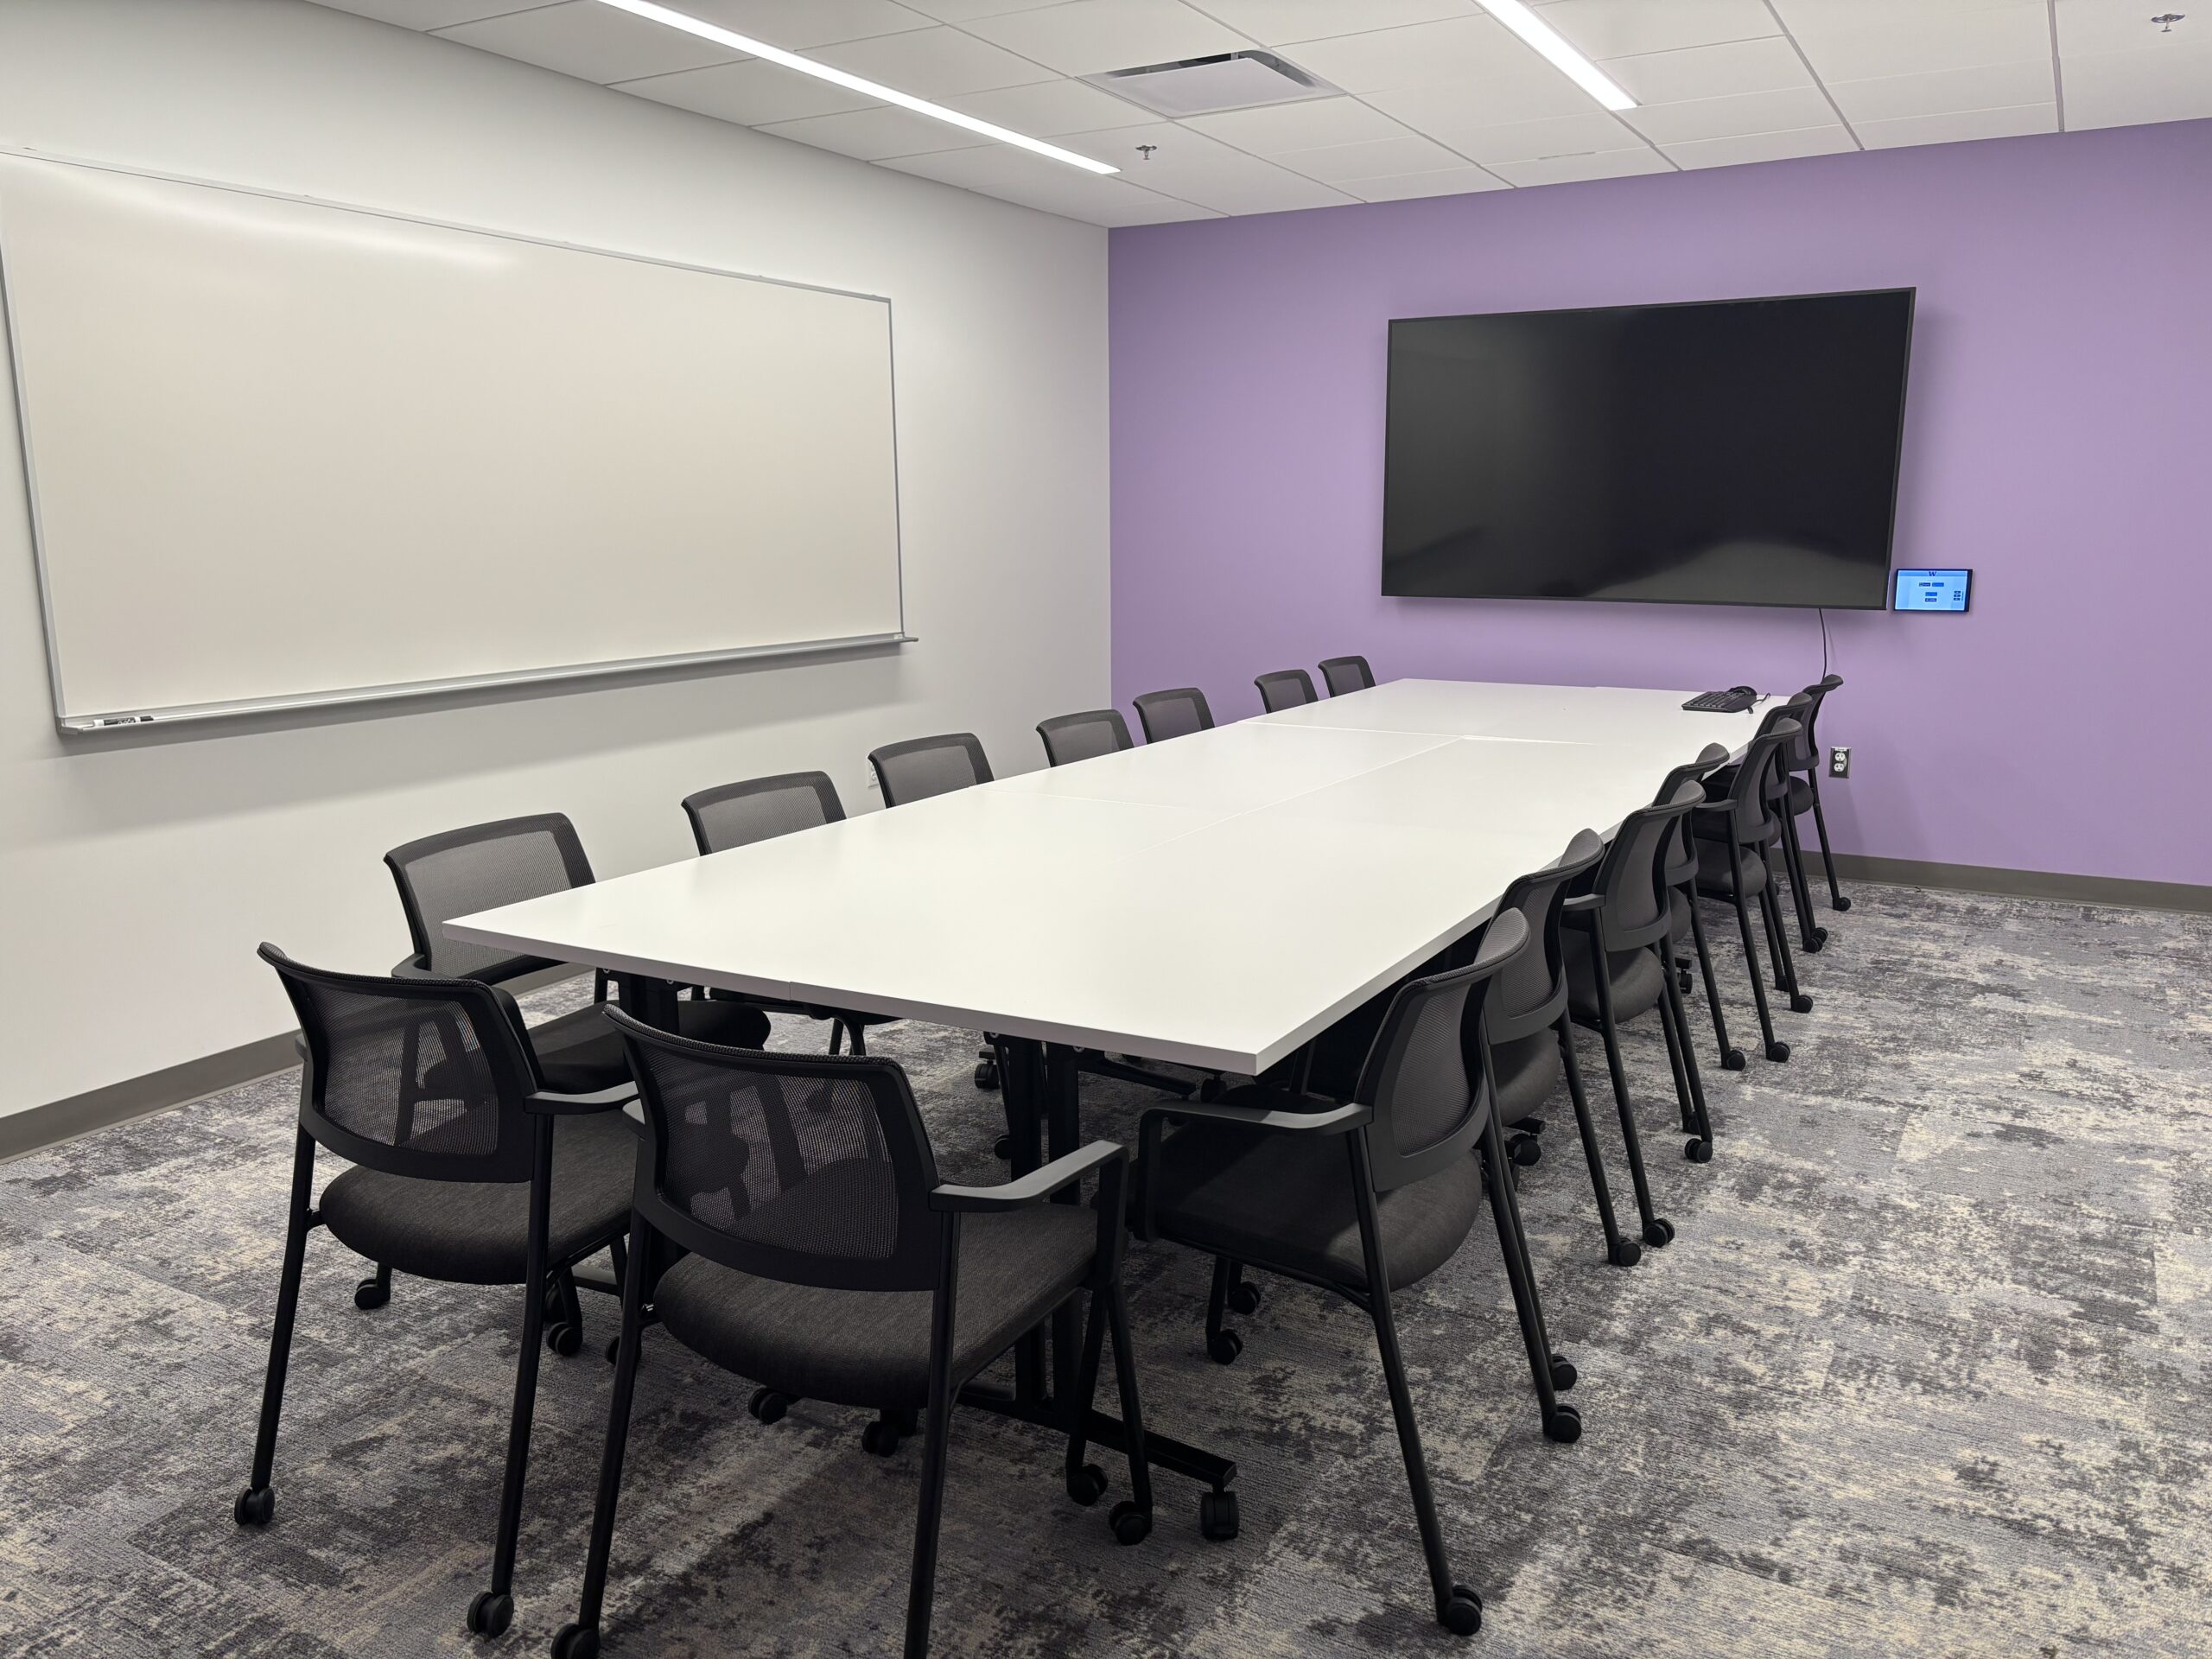
Five (5) Debrief Rooms
14-person seating capacity
Rolling tables and chairs
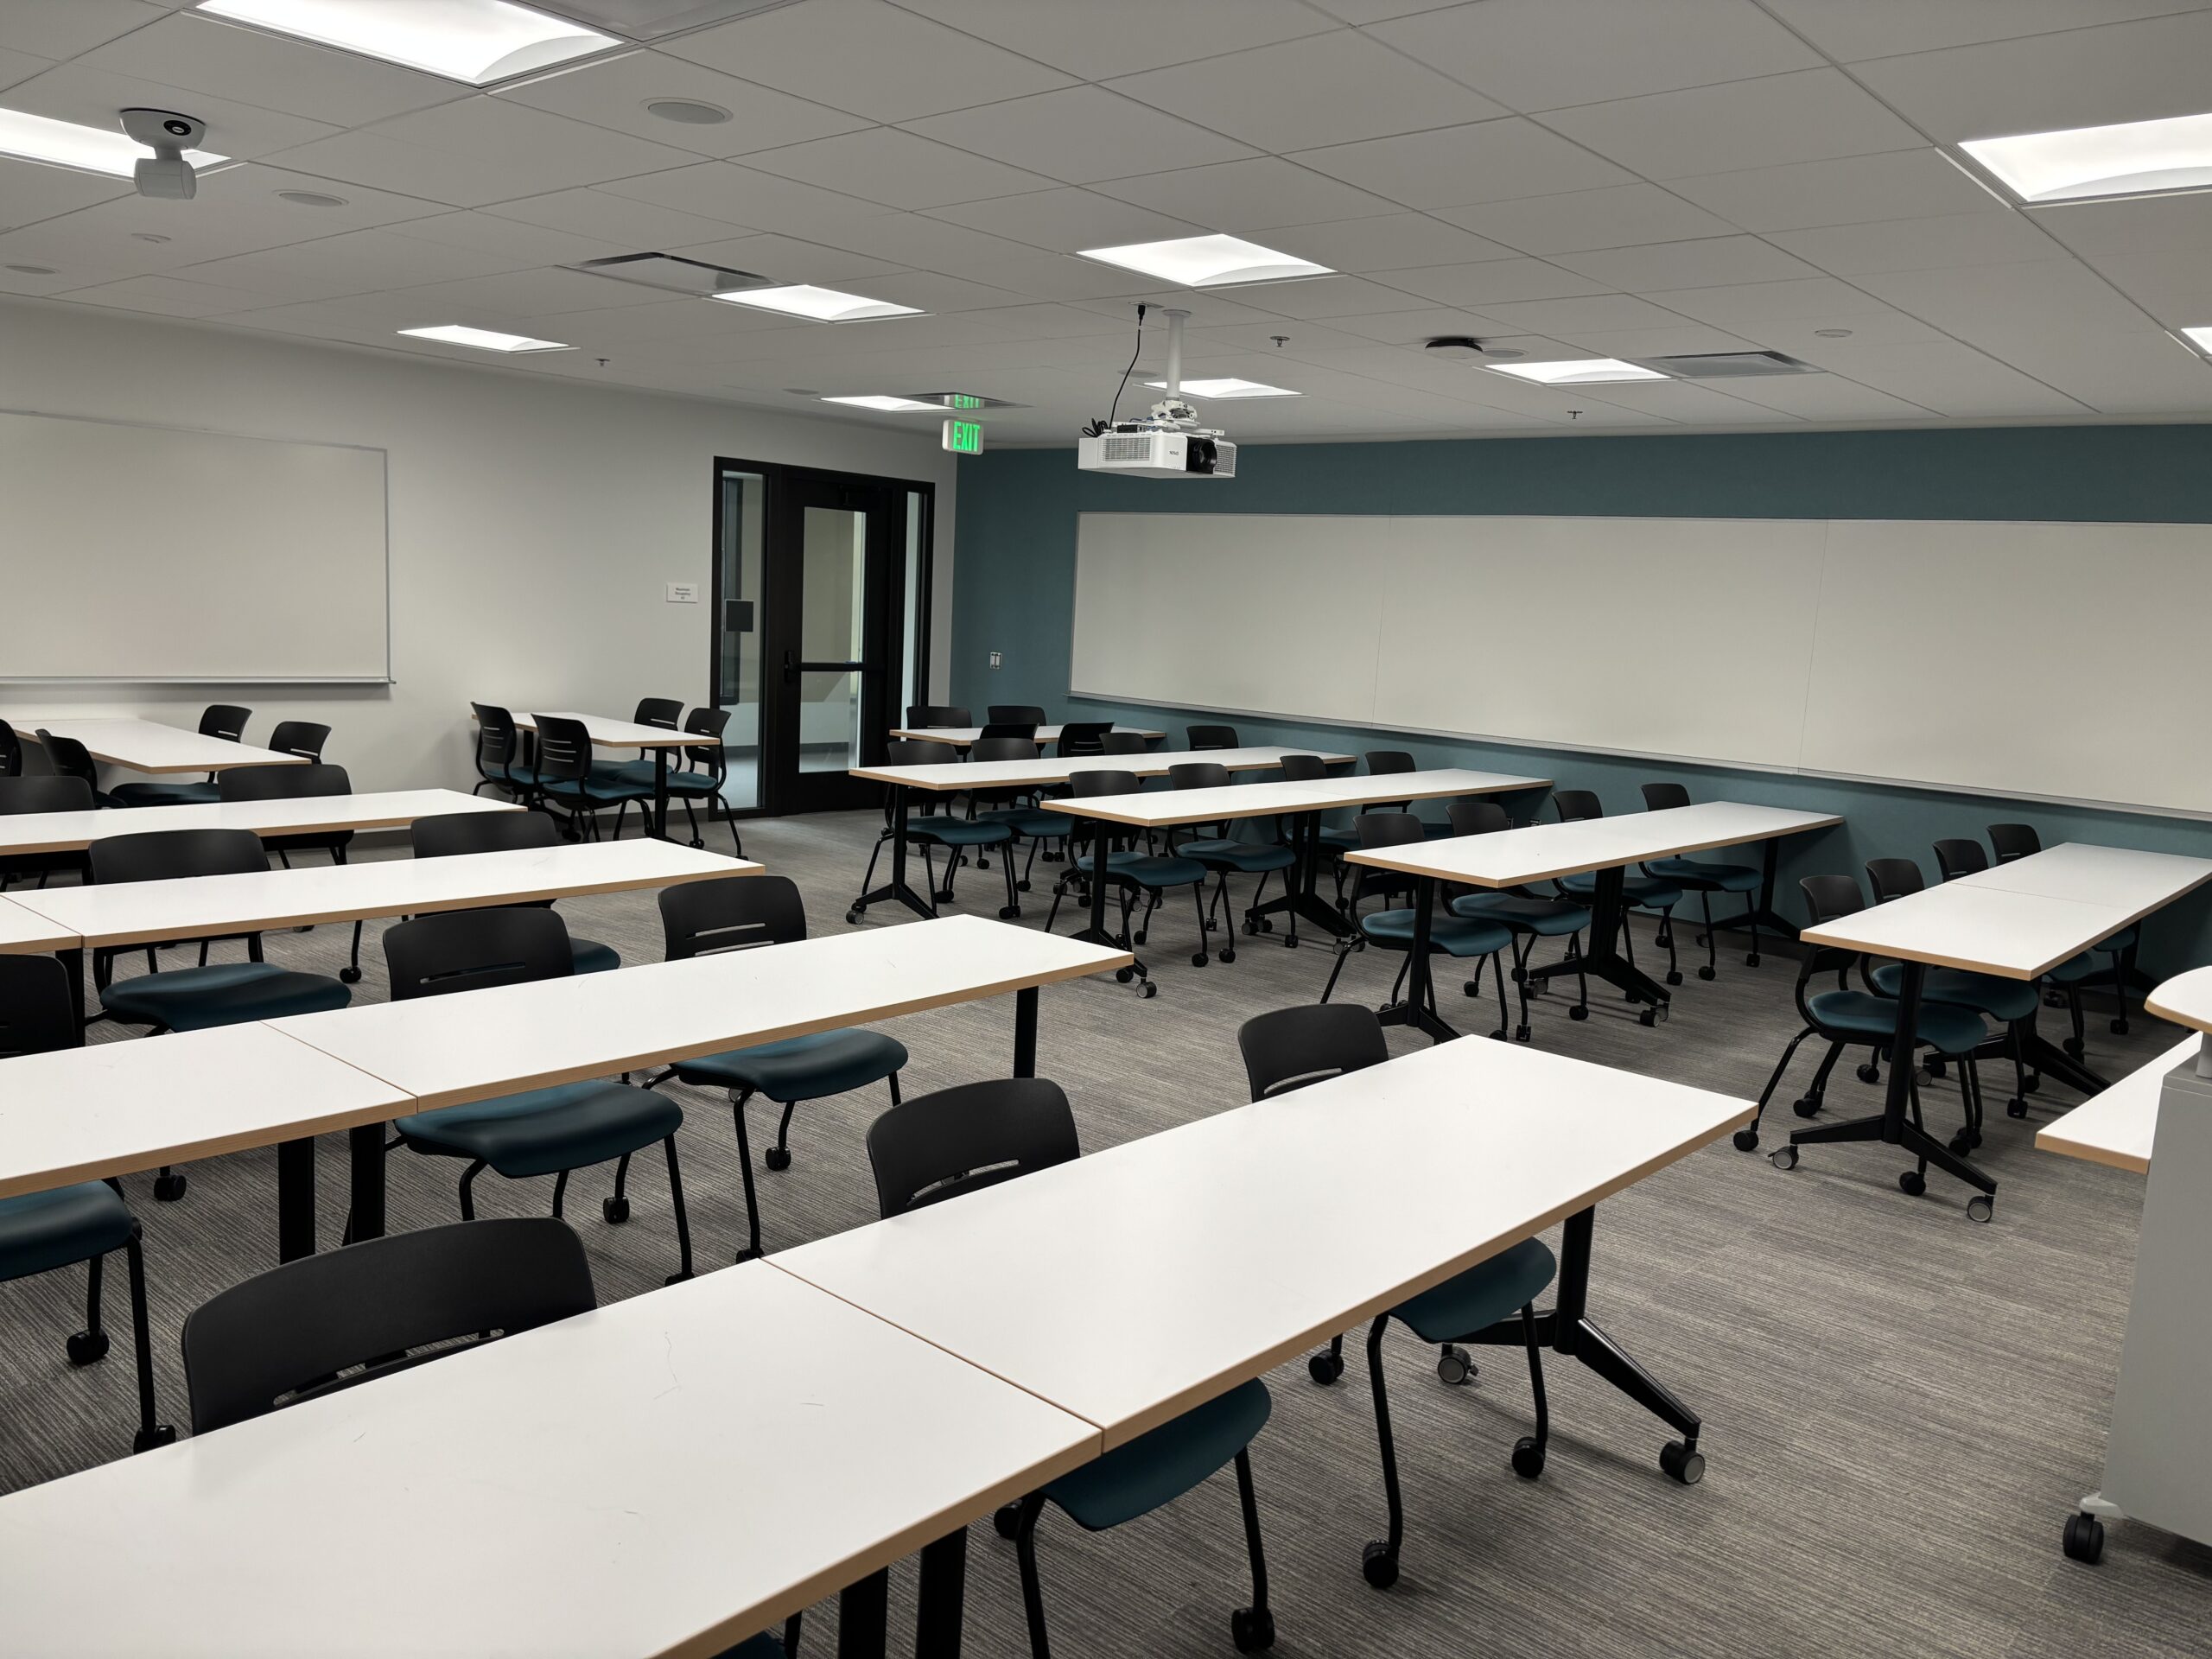
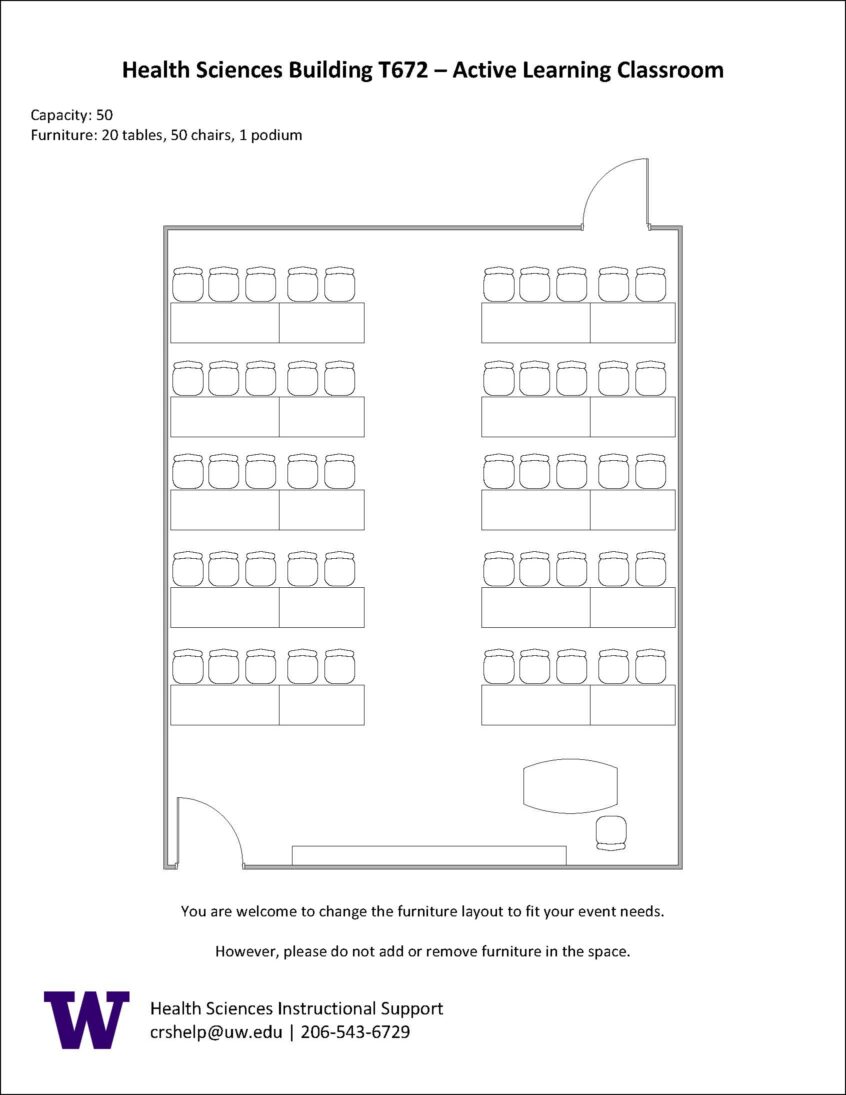
Active Learning Classroom
50-person seating capacity
Rolling tables and chairs
Whiteboards
Patient Rooms
One (1) 65″ 4K TV monitor in each room
Connection types: HDMI w/adaptor ring | wireless video
VALT recording software
Clinical Skills Lab
Two (2) laser projectors at each end of the room
Two (2) 85″ 4K monitors on wheels
Connection types: HDMI w/adaptor ring | wireless video
A/V bridge
Four (4) Wireless lavalier mics
Debrief Room
One (1) 85″ 4K monitor
One (1) wireless keyboard
One (1) wireless mouse
Active Learning Classroom
One (1) laser projector
One (1) wireless handheld
One (1) wireless lavalier mic
One (1) digital document camera
One (1) ceiling mounted camera
Connection types: HDMI w/adaptor ring | wireless video
A/V bridge
Food and drink are NOT permitted in this space or neighboring spaces.
Extend the tripod legs adjust the height to your personal preference
Flip the mount upside down and line up the thread with the camera and tighten to secure the camera to the mount. The plate may be on the camera already
Push the lever on top of the tripod toward you and slide the camera onto the tripod
You can tilt the camera by loosening the handle, pan by loosening the wheel, and raise/lower the camera by turning the lever
Use the provided USB cables to plug in the camera + microphone
Attach the USB extender cable if you need to lengthen either the camera or mic cable
Select Microphone USB Codec in the mic section and Huddly IQ in the camera section
If you aren’t using the boundary mic provided, the Huddly cam has its own mic. Select Huddly Mic if you’re not using the boundary mic
Video Conferencing Kit Tutorial
VC Kit Tutorial
Other Rental Equipment
Rental Equipment
Cart Components
65” monitor
Soundbar
Microphone
Camera
HDMI cable w/adapters
Setup
Plug in the power cord to power up the cart
Turn on the monitor
Plug in your device with the HDMI and USB cable with corresponding adaptors for your device
For Zoom or Panopto, select Crestron Soundbar in the speaker section, MXL Microphone in the microphone section, and select PTZ Pro 2 in the camera section
AV Bridge Cart Tutorial
Wired Microphones
Plug the power cable for speaker into a wall socket or power strip
Plug the XLR cable(image) into the speaker
Plug the other end into the mic
Turn on the speaker by flipping the switch on the back
Adjust the knob right next to volume to test audio and get the right audio levels
Wireless Microphones
Plug the power cable for speaker into a wall socket or power strip
Plug the power cord for the mic receiver into a wall socket or power strip
Power on the receiver if it has not already turned on
Plug the XLR cable into the receiver and to the speaker
Turn on the speaker flipping the switch on the back
Turn on the wireless lavalier or handheld mic
Adjust the knob right next to volume on the speaker to test the audio
Instructions
Power on the rental laptop and wait for the laptop to boot up
Follow the on-screen instructions of pressing Crtl+Alt+Delete
Sign in with your NetID and password
Using the AV Bridge in Our Classrooms
A/V Bridge Resources
A/V Bridge
Plug in the USB cable into your device
Once Zoom is opened up, click on the arrow by the camera
Select AV Bridge for the camera in the room
Click on the arrow by the microphone and select AV Bridge input for microphone
For the speaker, select Extron or Crestron
To confirm that the audio is working properly, select Test Speaker & Microphone
Plug in the USB cable into your device
Once Panopto is opened up, click on the video input tab
Make sure to select both projectors on the touch panel if you have selected laptop on the touch panel
Make sure the projectors are on through the display button on the top right
If the projectors aren’t immediately displaying, try turning the touch panel off/on again
Make sure to unmute the mics you are using in the mic tab
Make sure that the HDMI cable is plugged in to your device and not the USB cable
Try multiple adaptors if the first one doesn’t seem to be working with your device
Don’t plug just the adaptor into your device. It will not display your device if the HDMI isn’t connected to it
If the podium is locked and can’t access the mics, come checkout podium keys from our office in T 291A or call us at 206-543-6729
When placing the mics back into the charging station, make sure they are firmly set in the charging station and the lights are on for the spot you placed it in
Health Science Education Building
The Health Sciences Education Building is located on NE Pacific Street at 1607 NE Pacific St, Seattle, WA 98195. View HSEB on the UW campus map.
HSC Hours & Access
Secured 24 hours a day, 7 days a week.
UW Husky Cards automatically provide 24/7 access to the Health Sciences Education Building perimeter doors.
General Room Information
All rooms (excluding the Student Kitchen Area and HSEB lobby) have installed LCD projectors, projection screens. Please refer to the room matrix for additional information.
Special Event Spaces
Special event spaces include HSEB Lobby and the Student Kitchen Area and can only be reserved after 3:30 p.m., Monday-Friday.
Foege Genome Building
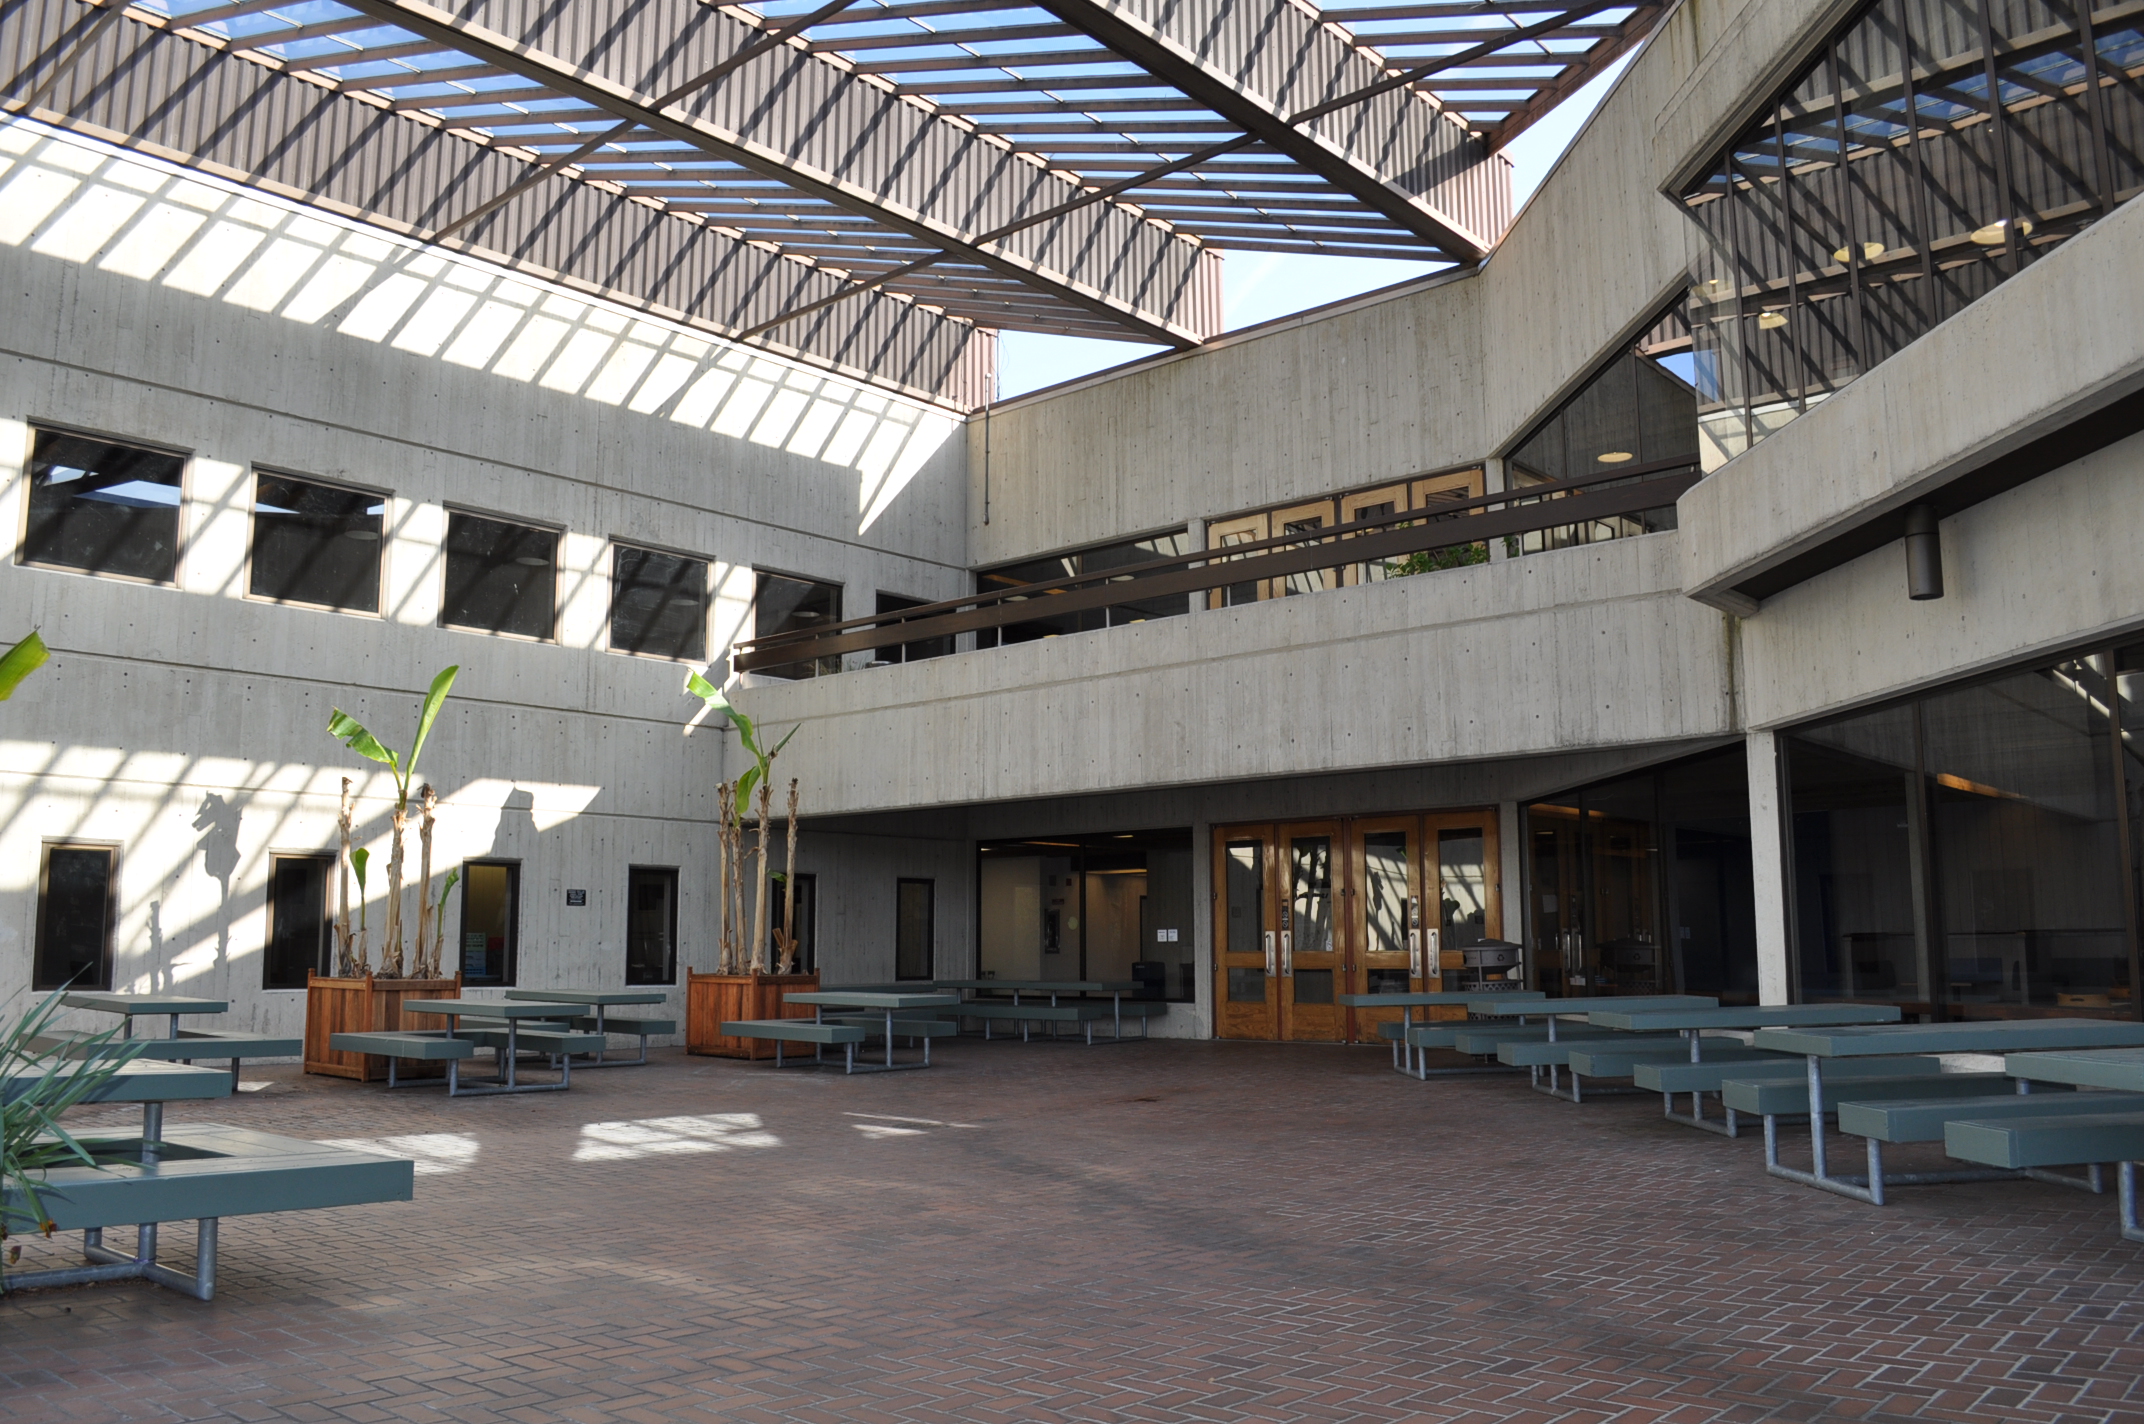
The Foege Genome Building is located west of the Health Sciences Center at 1500 NE Pacific Street, Seattle, WA 98195. View Foege on the UW campus map.
Foege Genome Building Hours & Access
Secured 24 hours a day, 7 days a week.
UW Husky Cards automatically provide 24/7 access to the Foege Building perimeter doors.
General Room Information
All rooms (excluding the HS Lobby, Rotunda Cafe Foyer, Vista Cafe, Overpass Lounge, K423A, and K523A) have installed LCD projectors, projection screens. Please refer to the room matrix for additional information.
Special Event Spaces
Special event spaces include the Vista Café and Terrace, Rotunda Foyer, T469 Overpass Lounge, E207 (E-Court Cafe), and HS lobby. The Vista Café and Terrace, Rotunda Foyer, and HS lobby can be reserved for any time frame, however the T469 Overpass Lounge and E207 can only be reserved after 3:30 p.m., Monday-Friday.
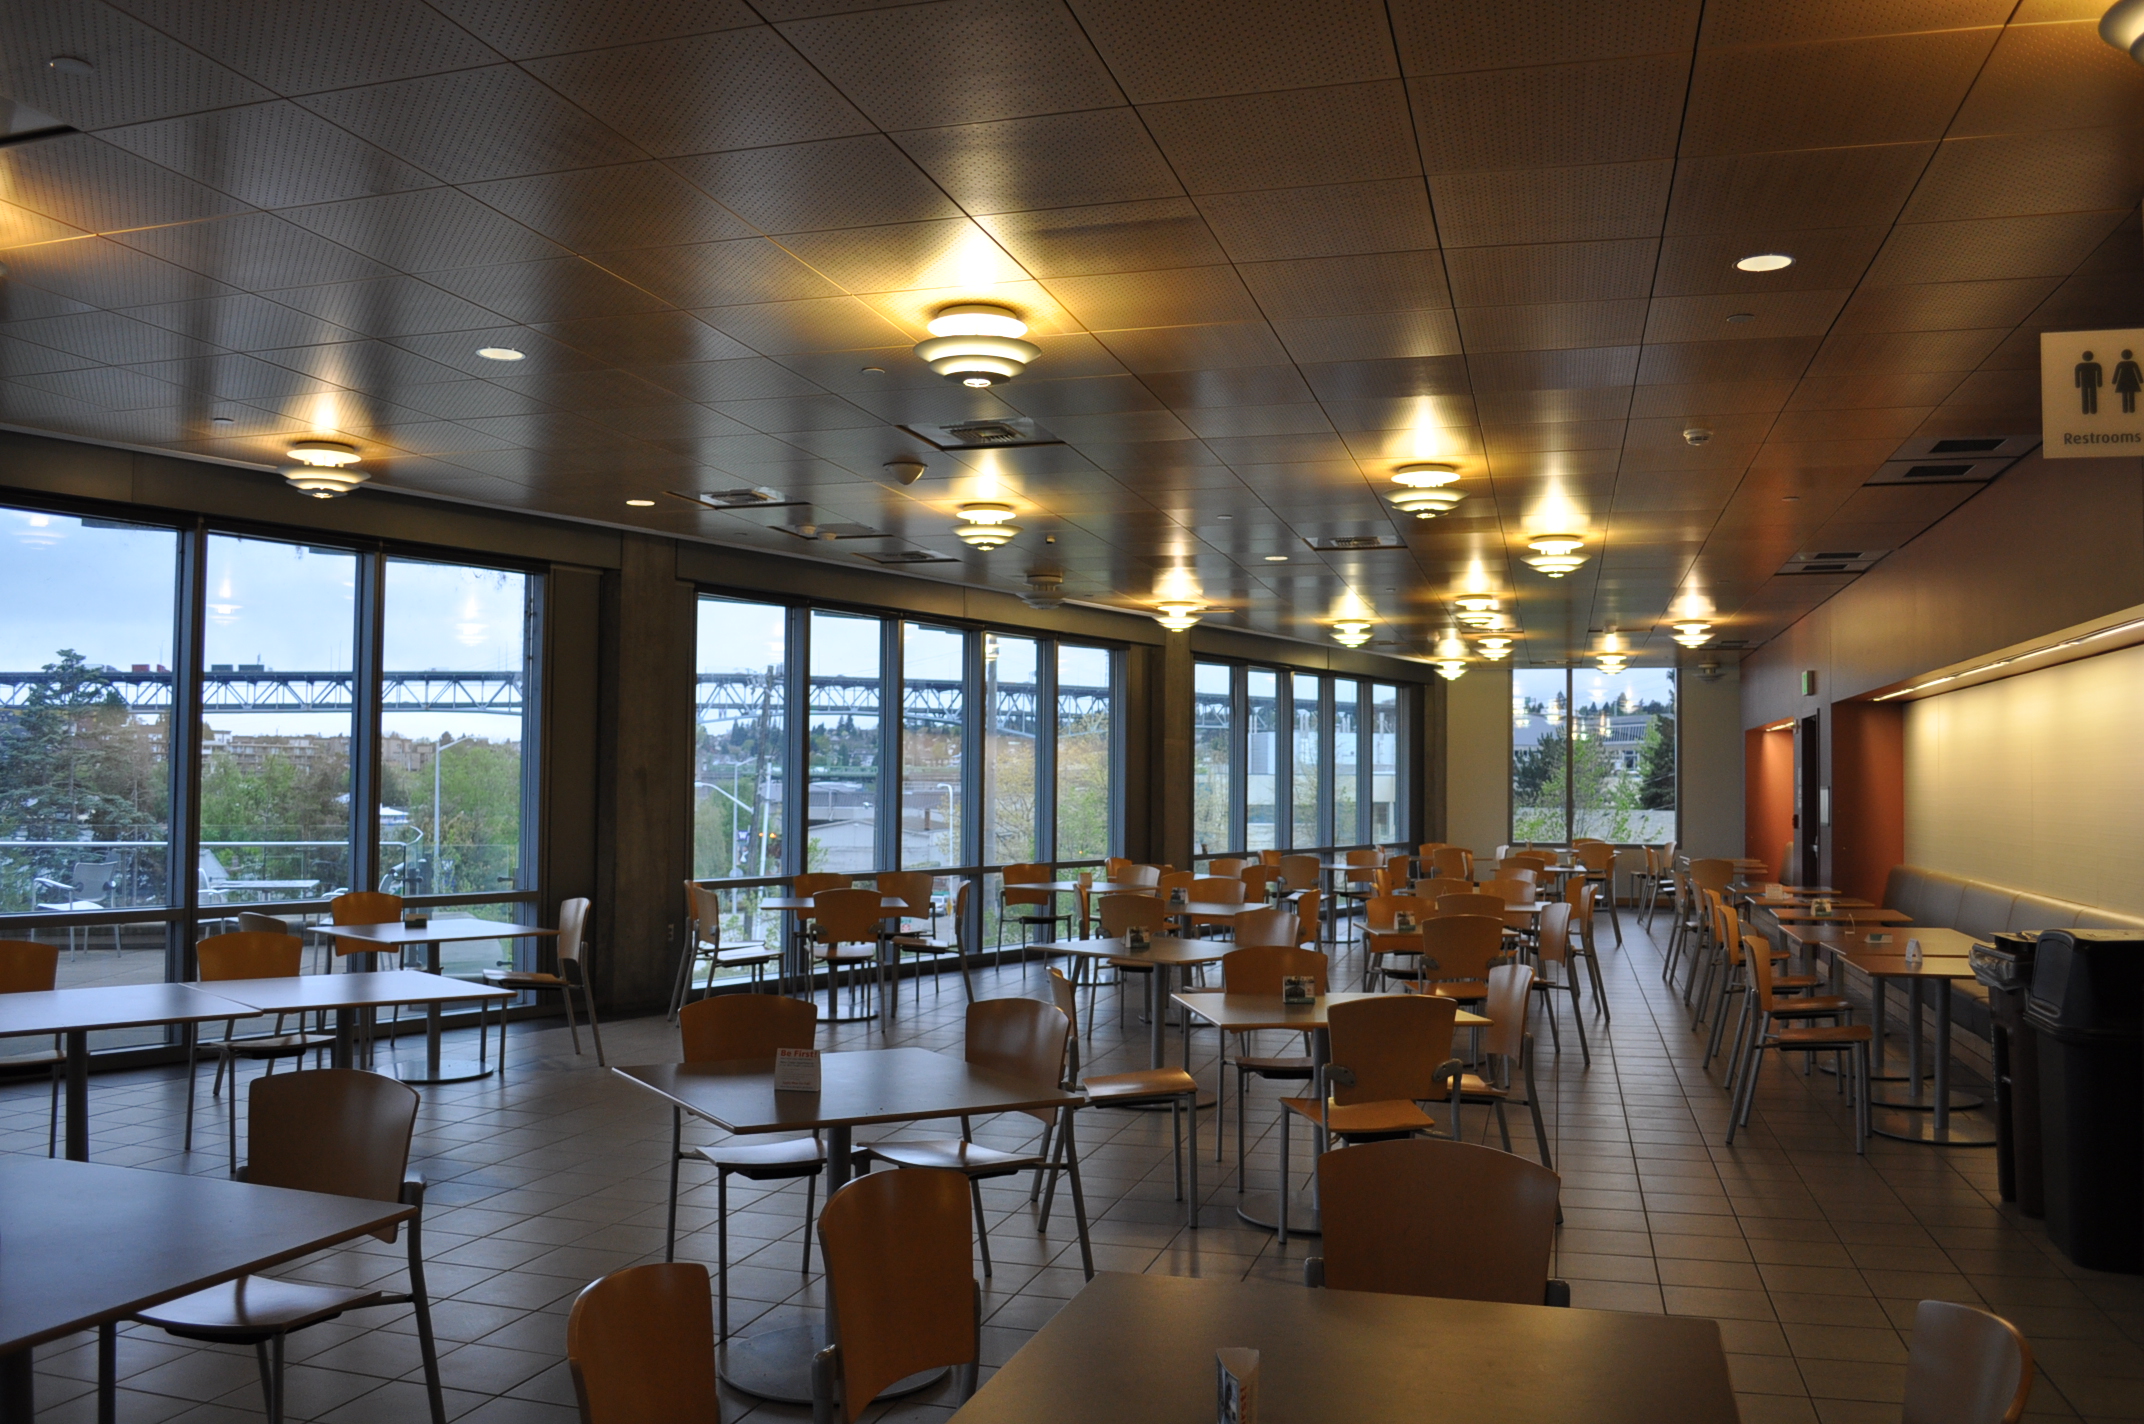
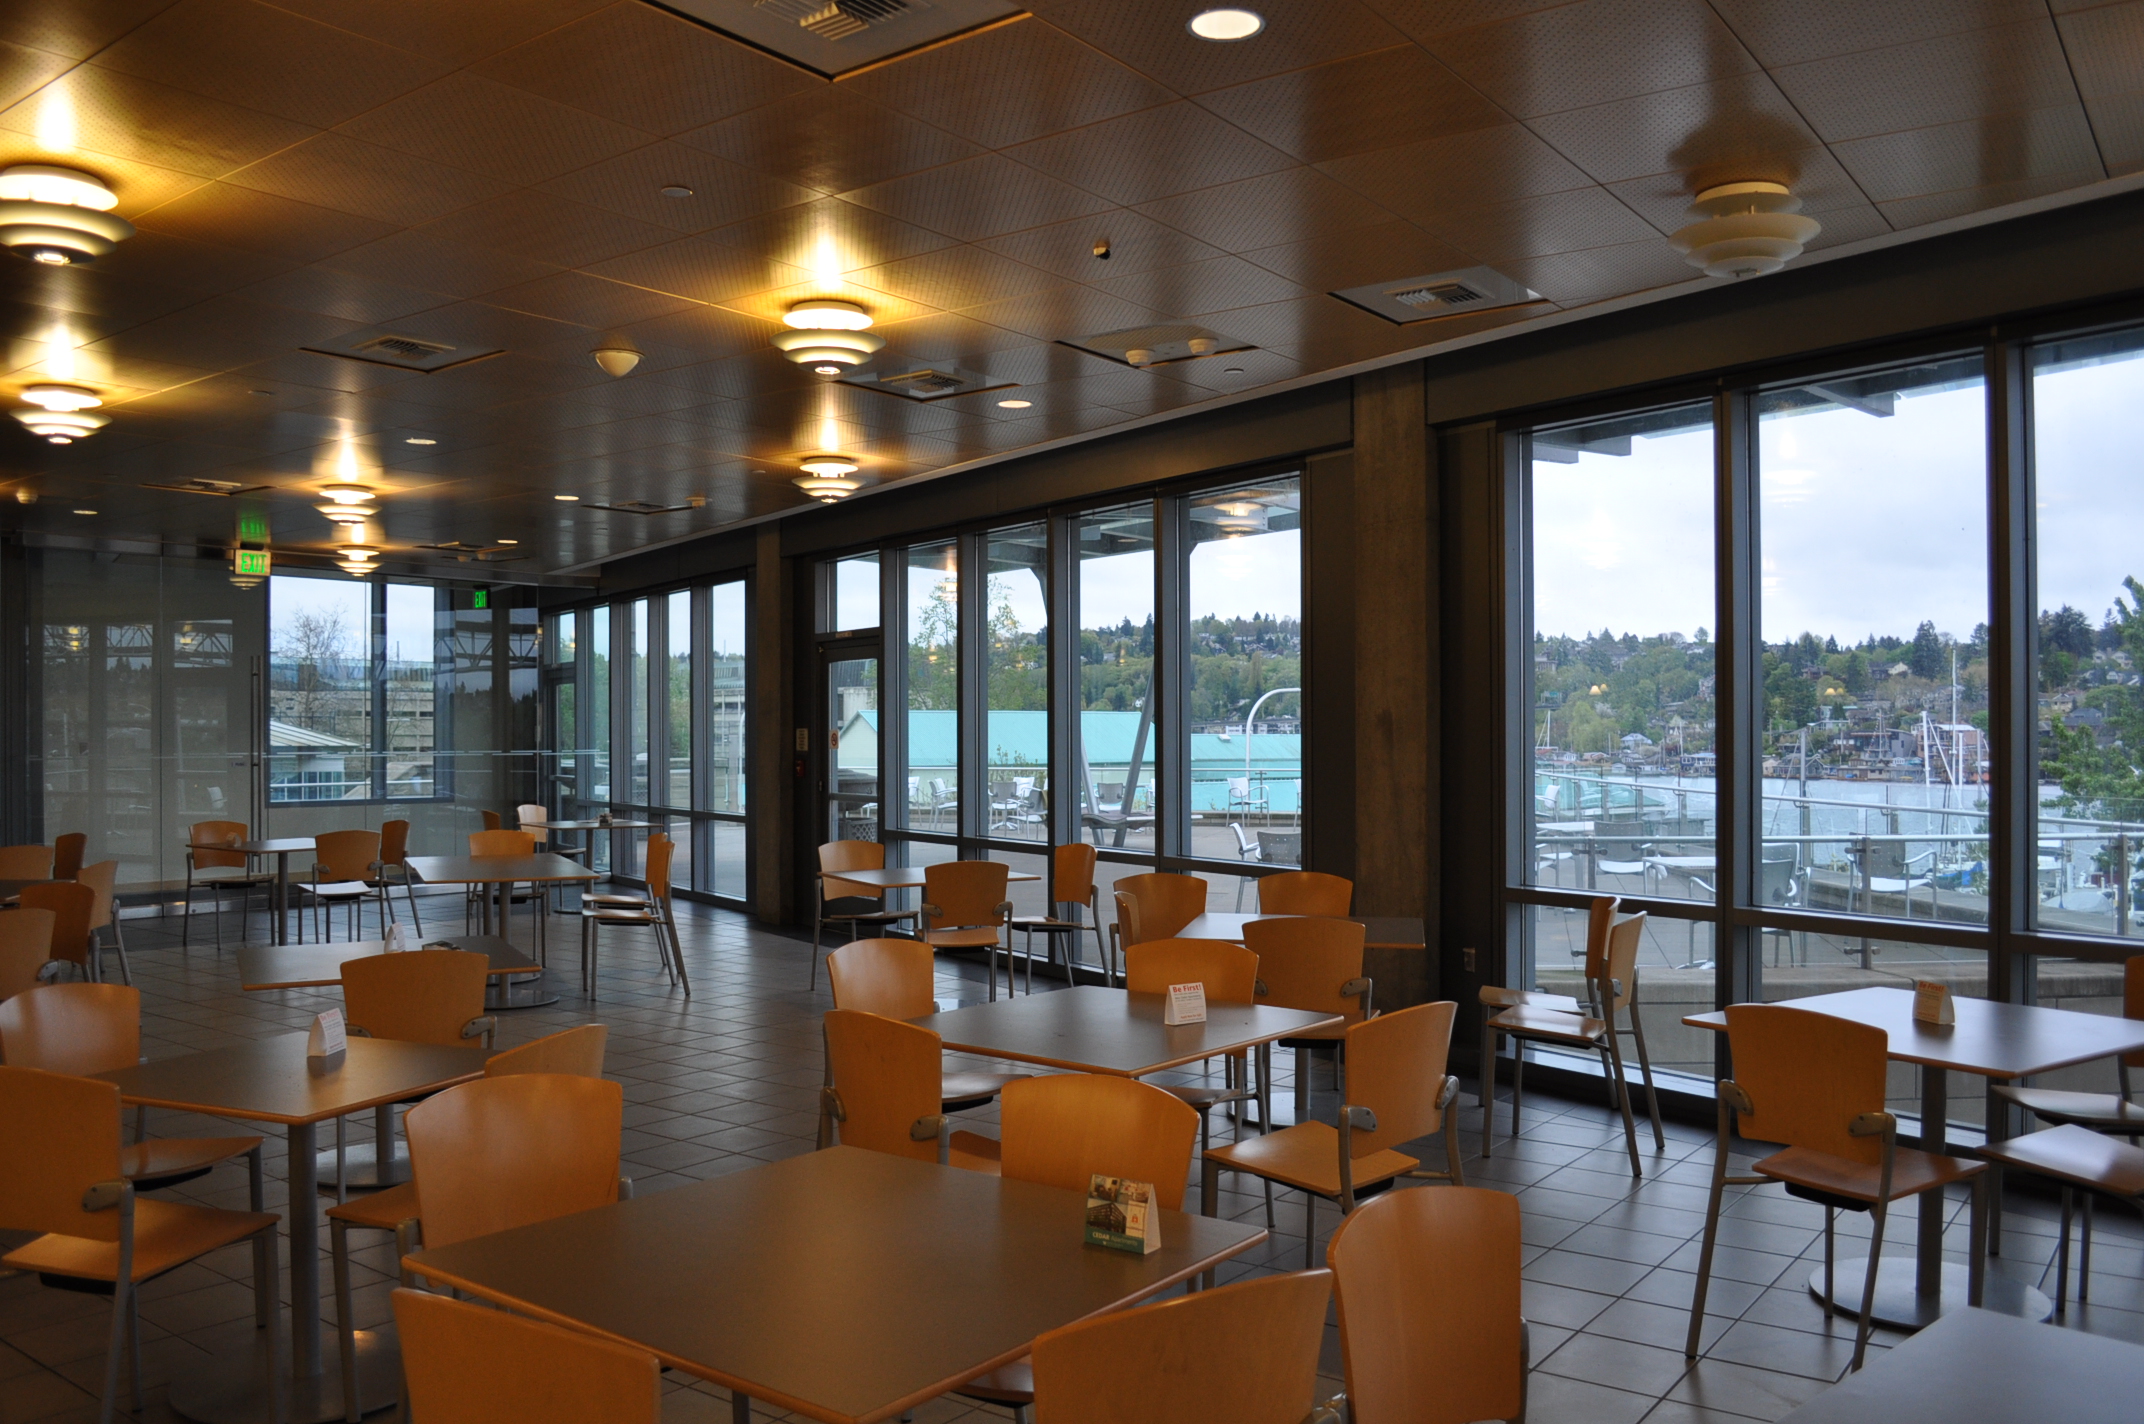
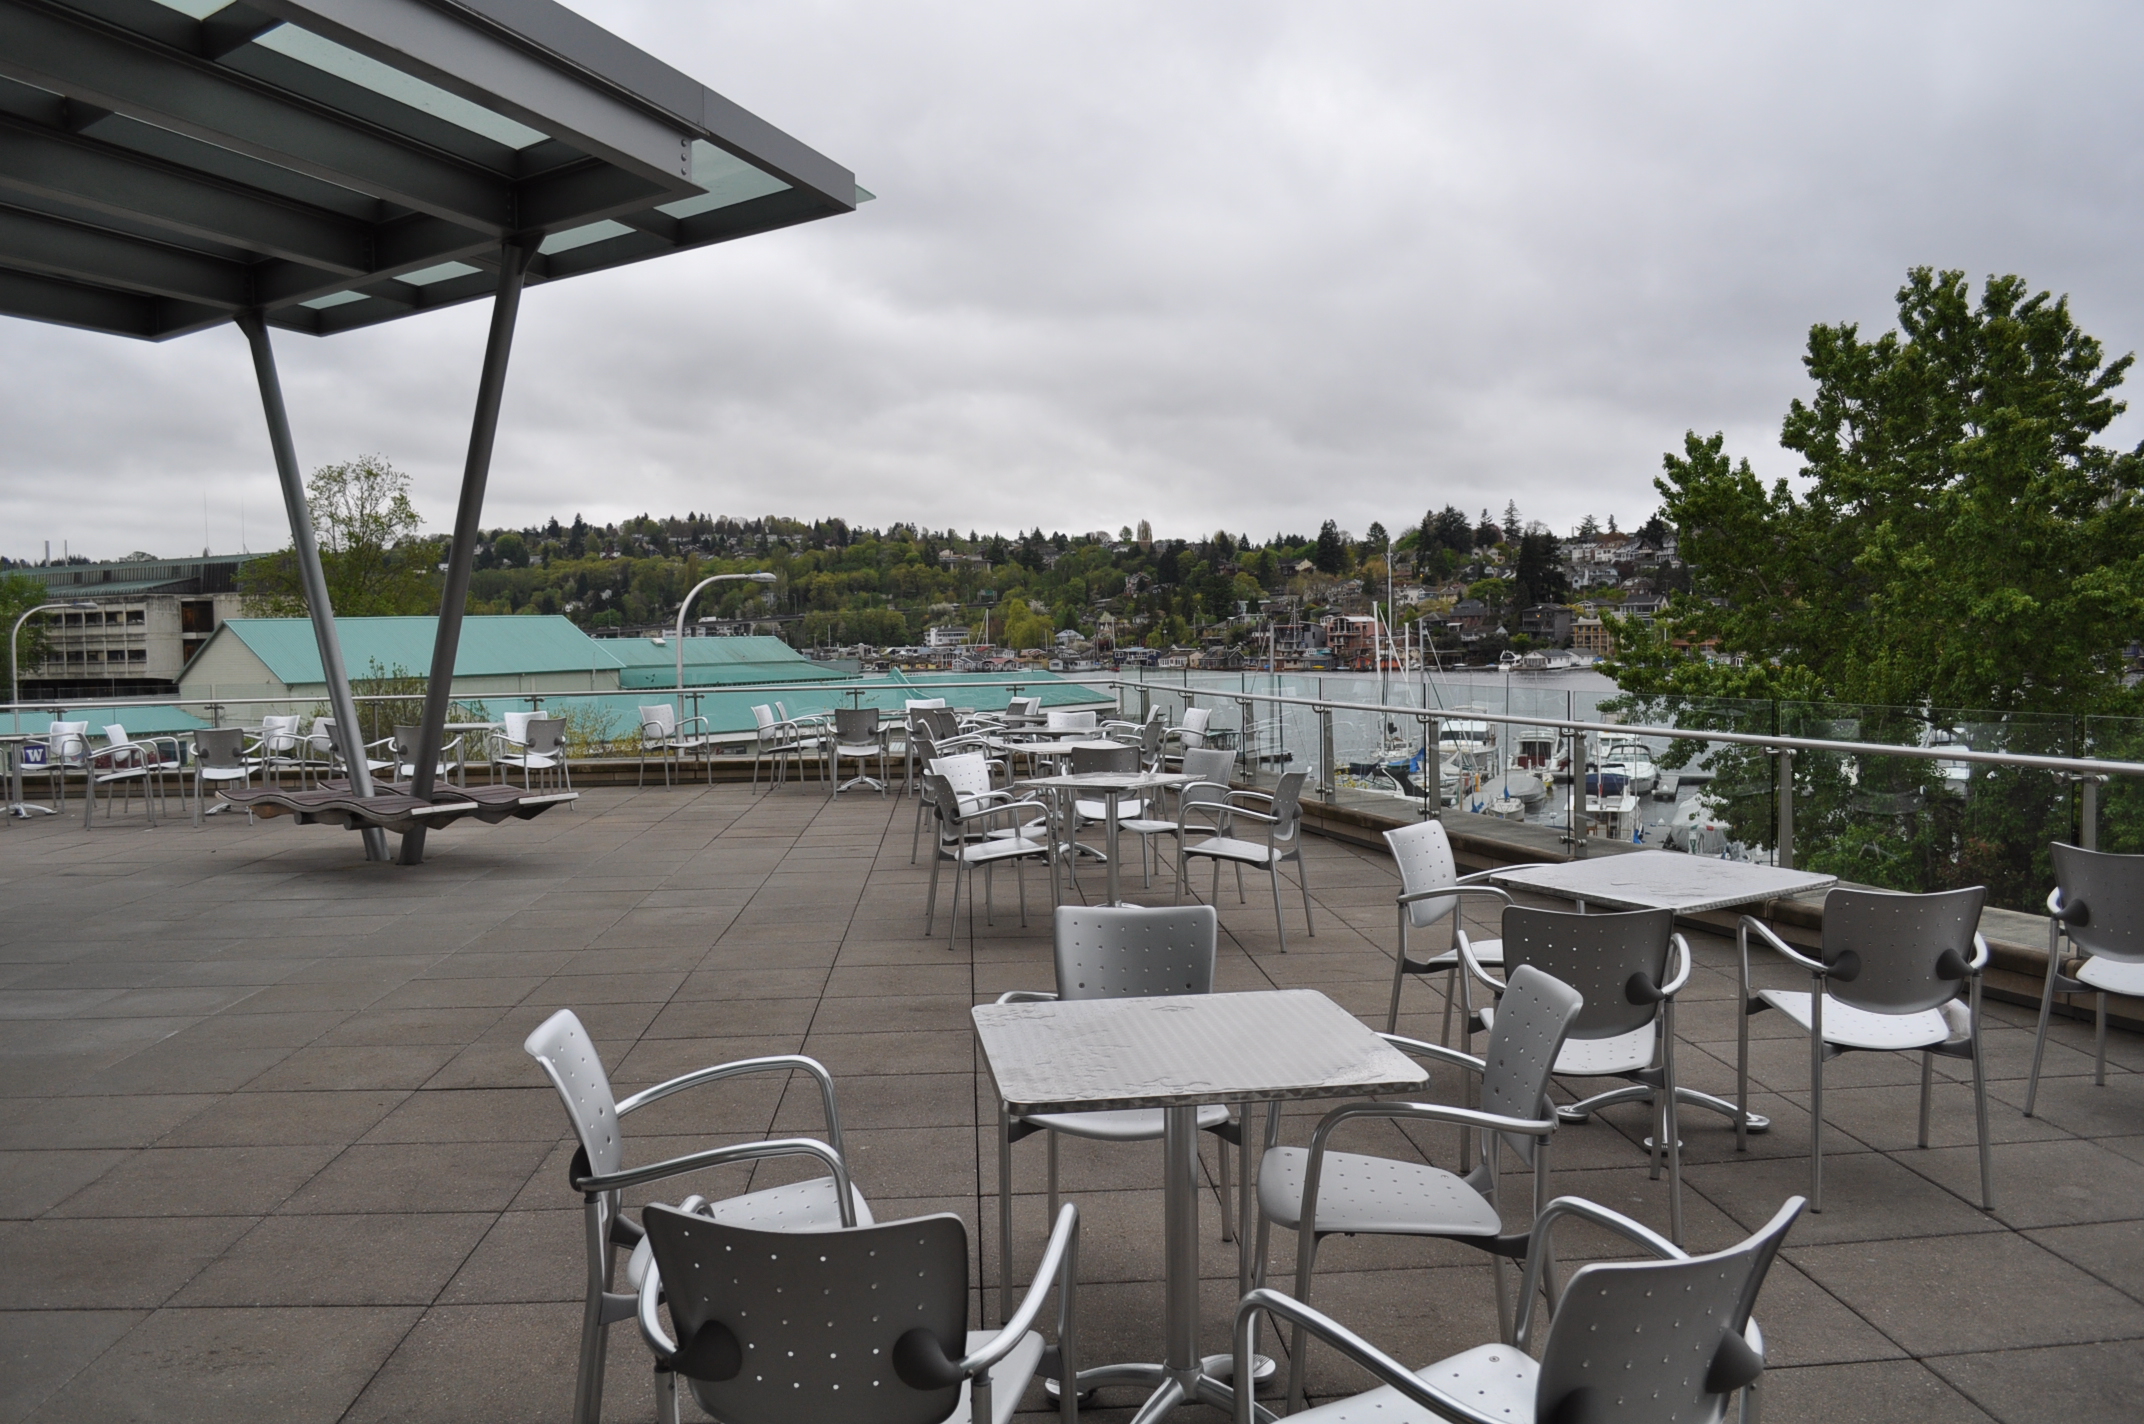
Genome Vista Cafe
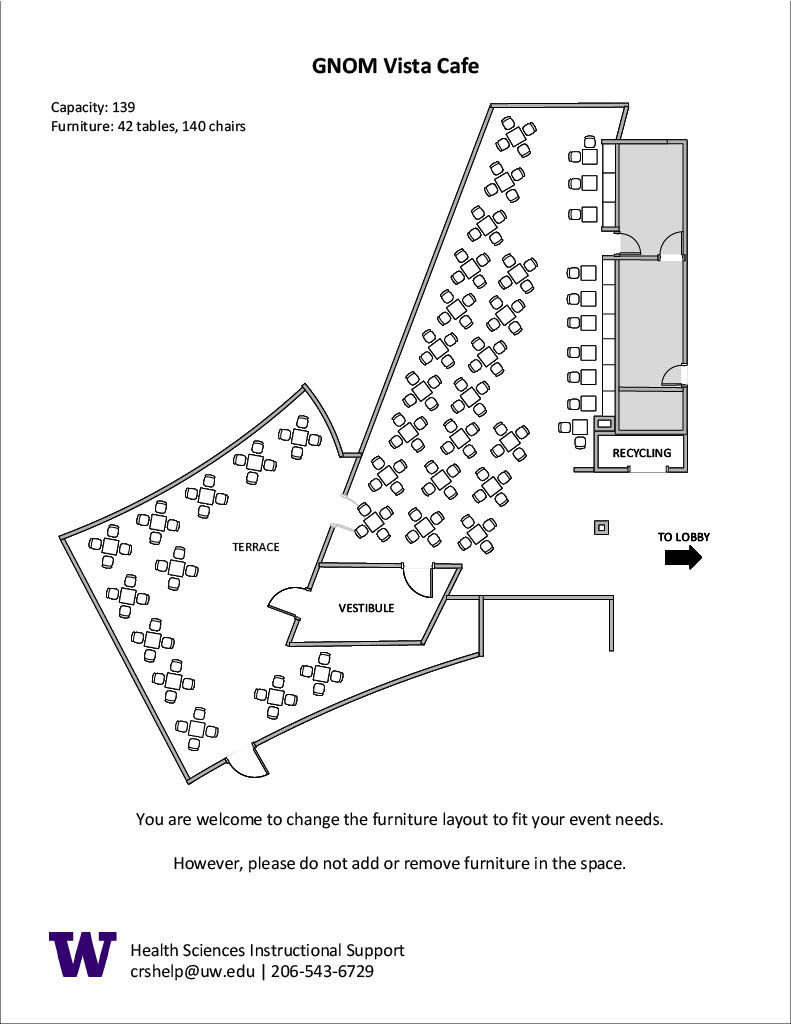
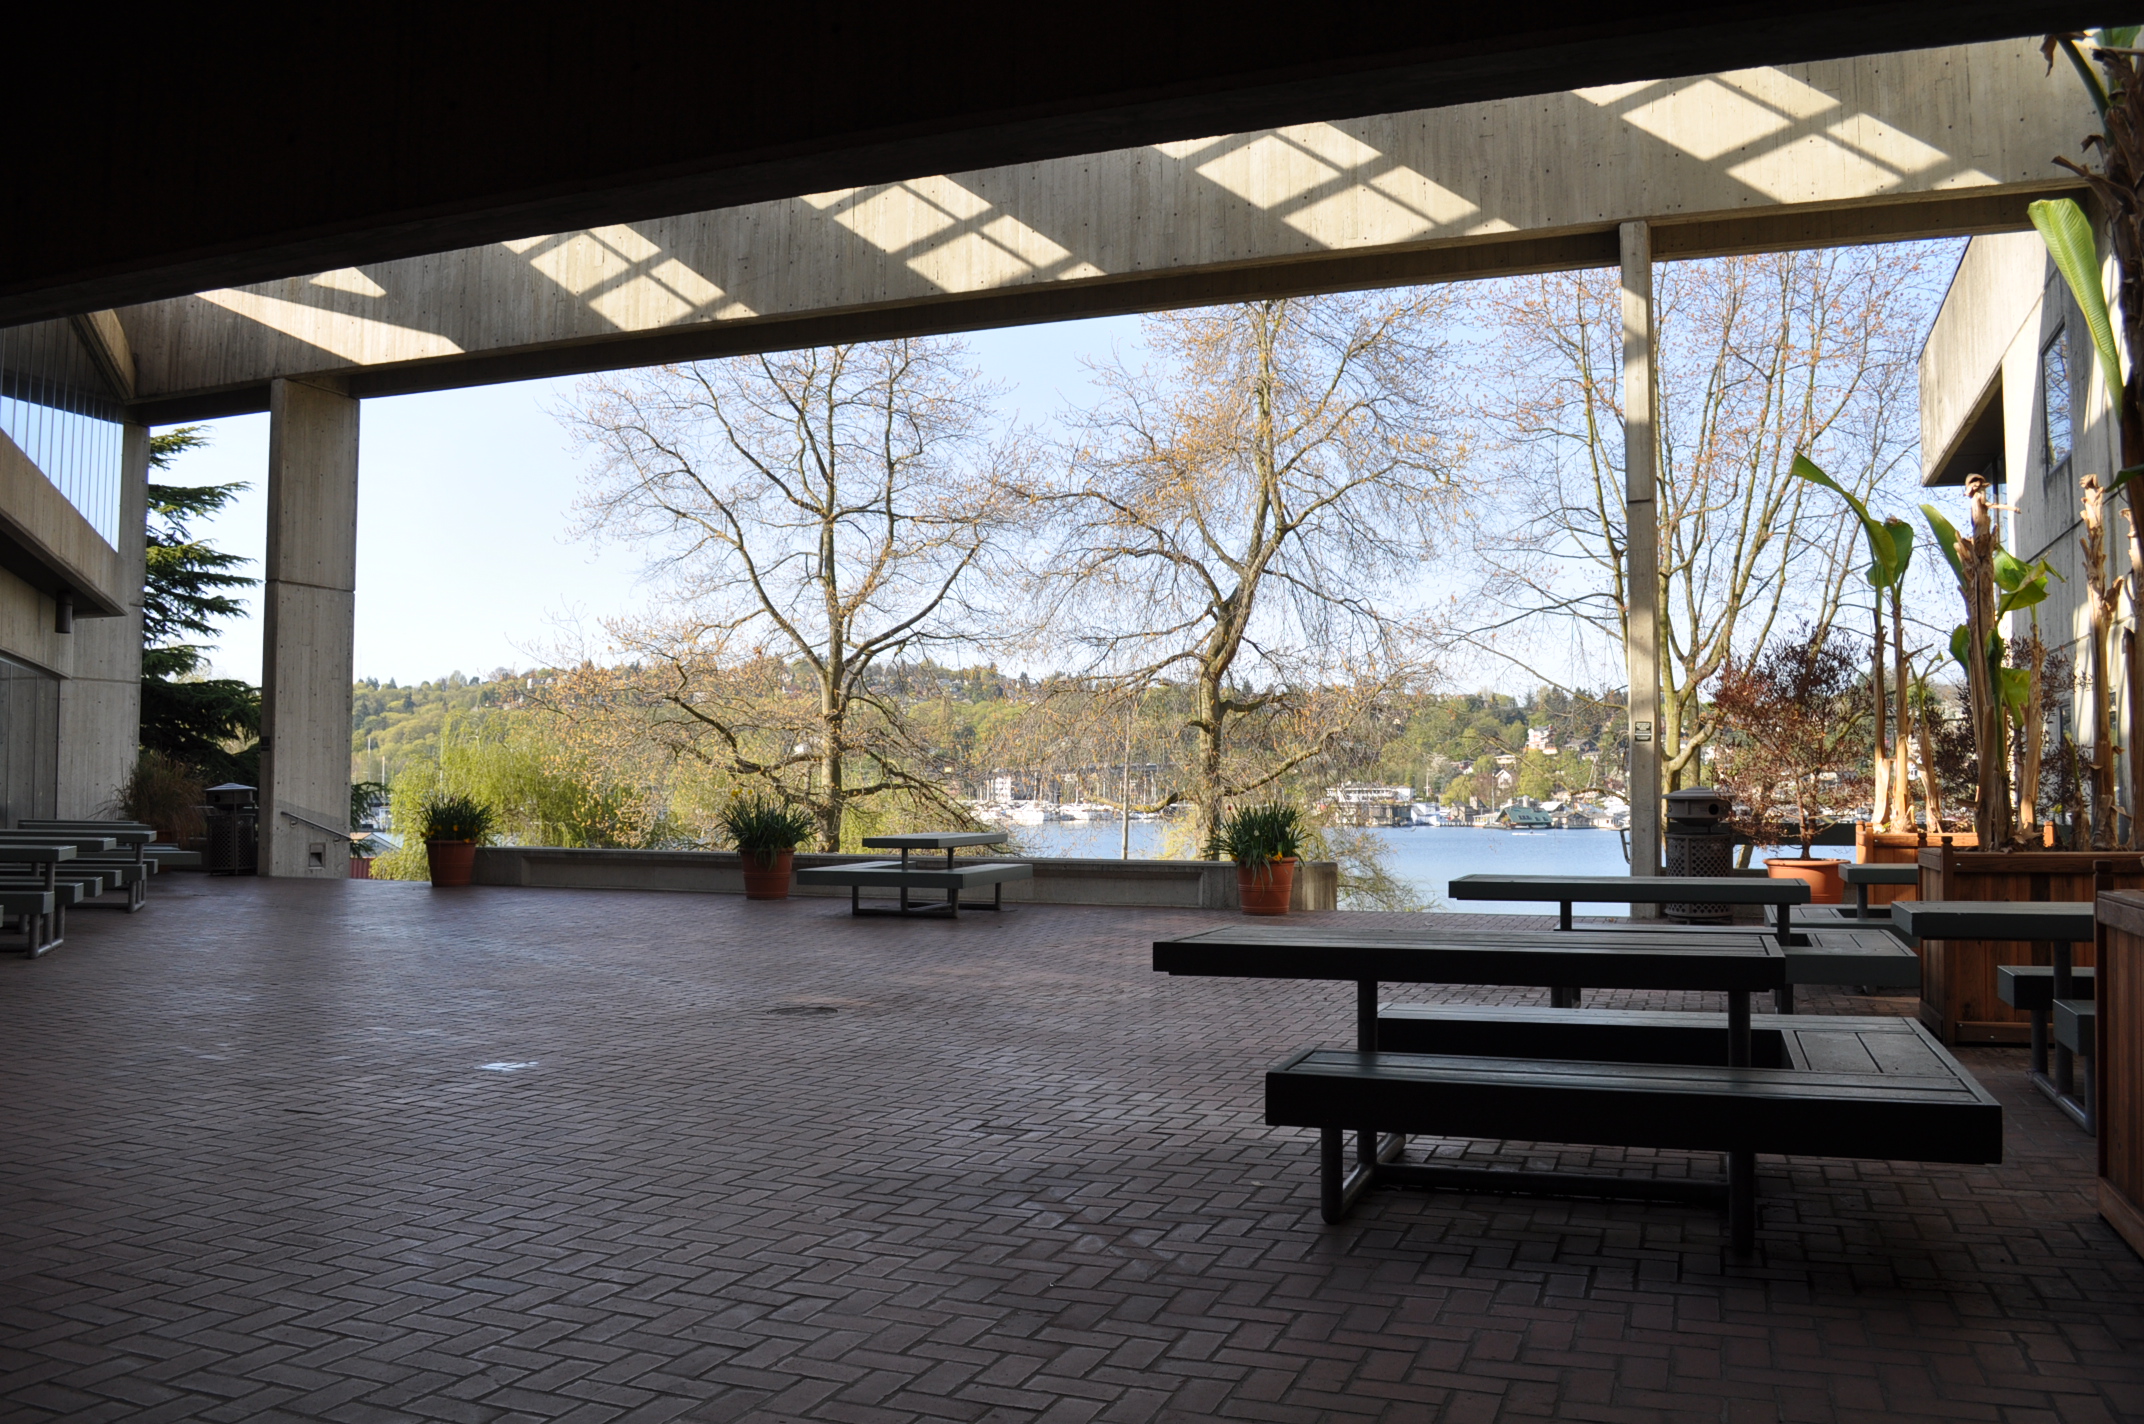
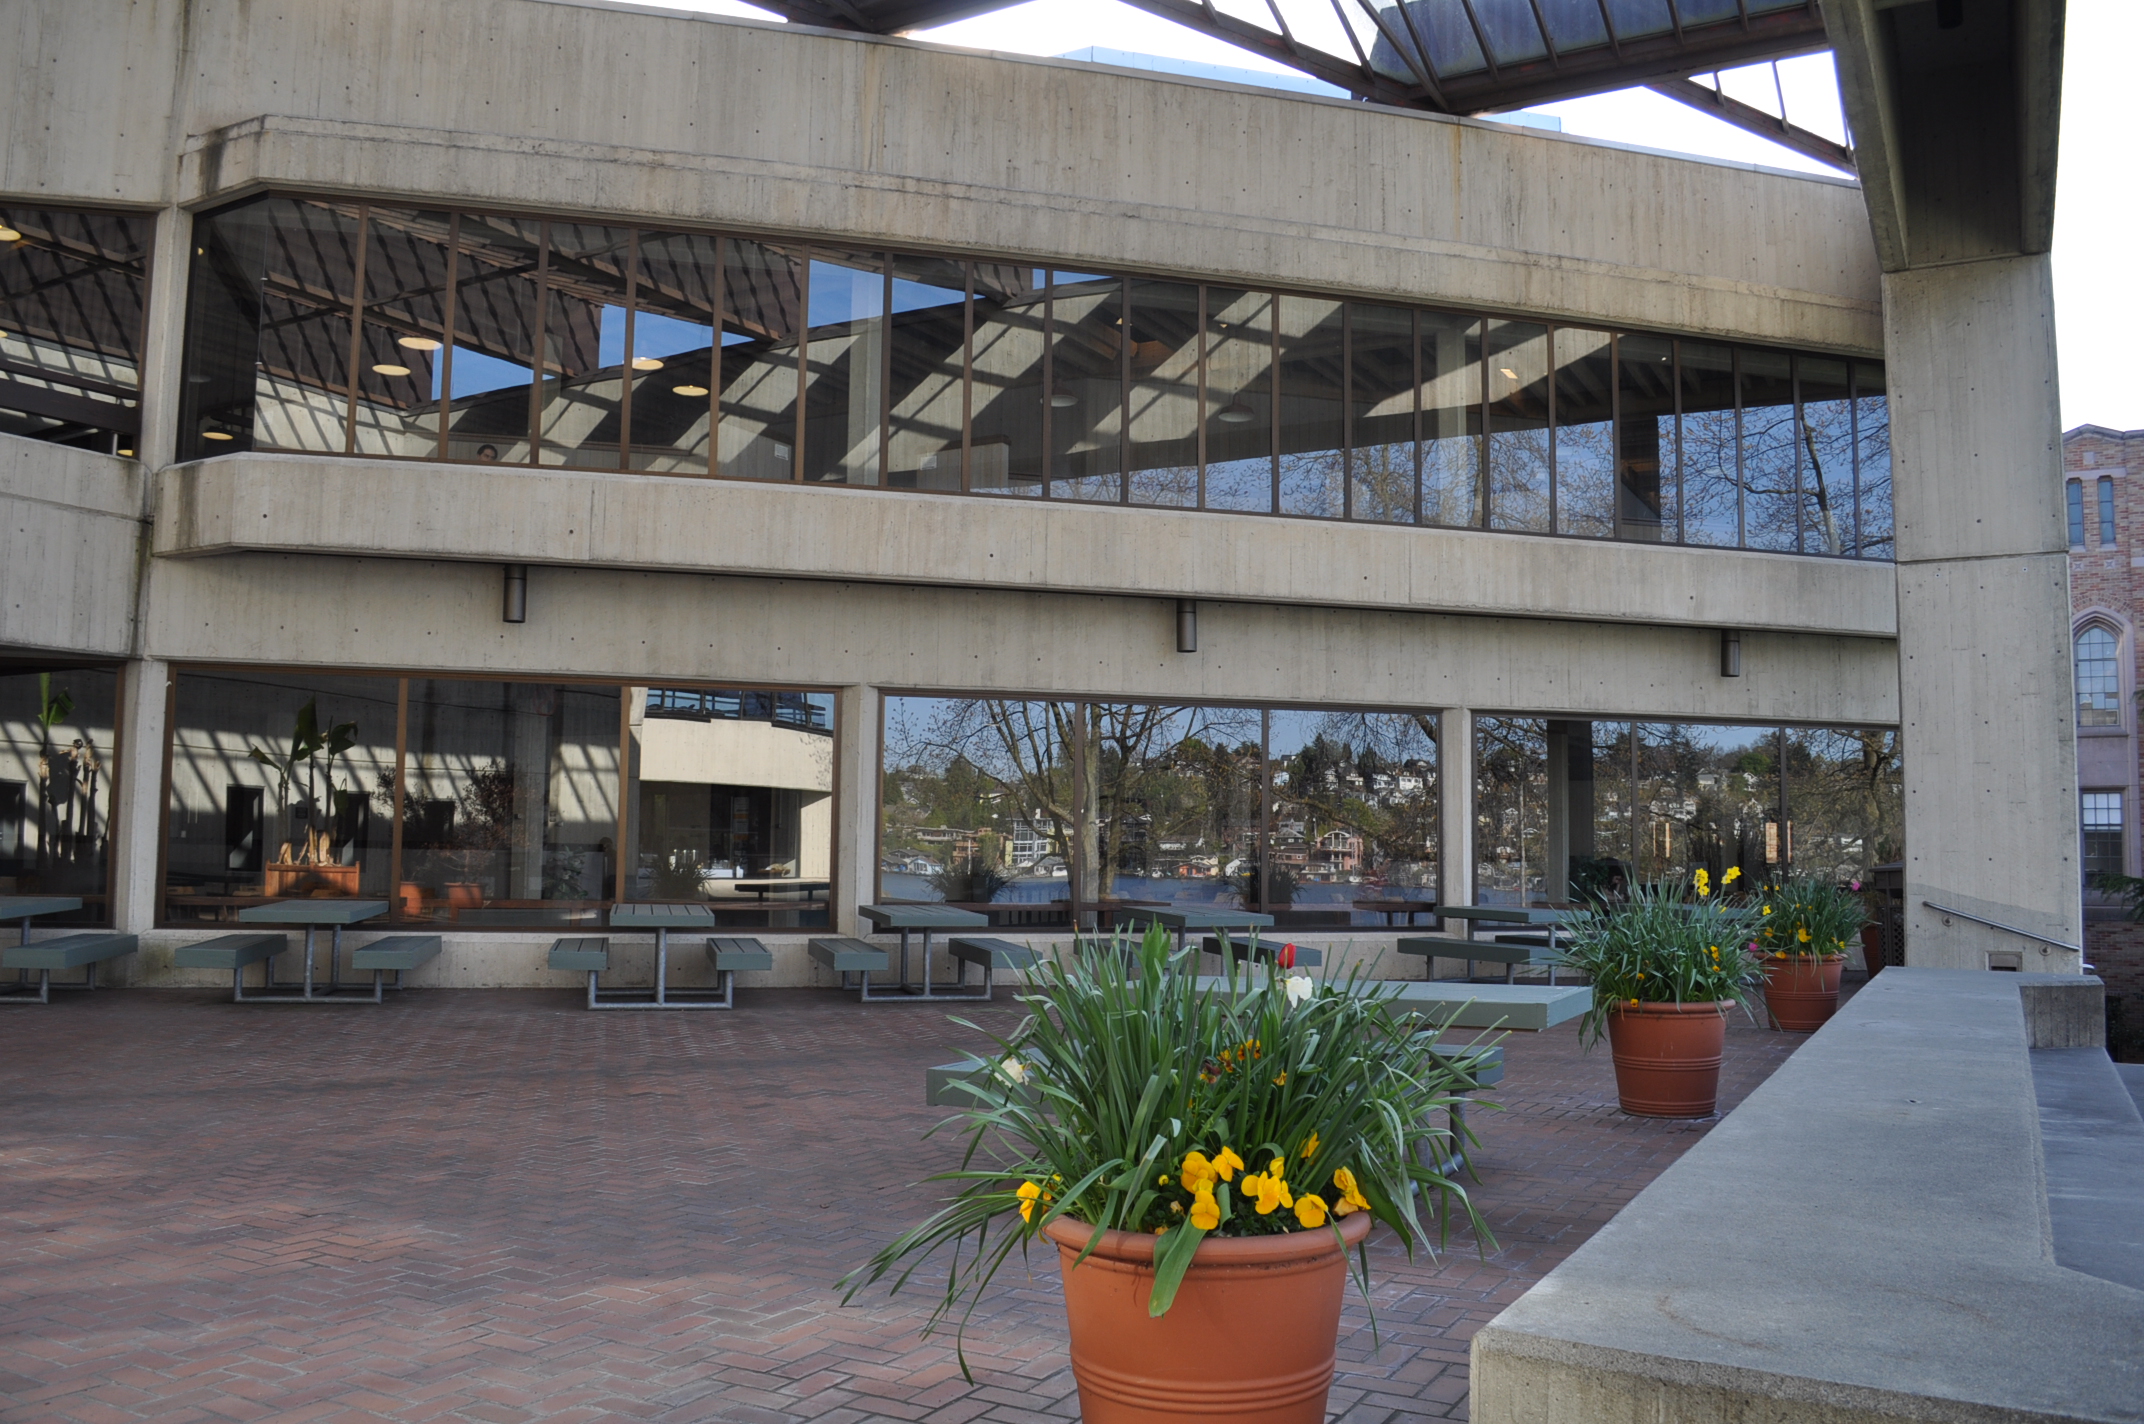
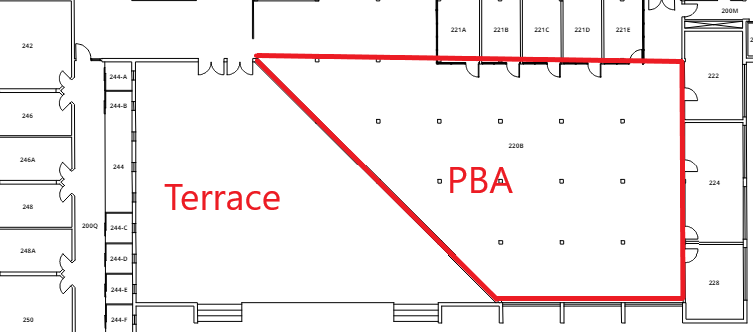
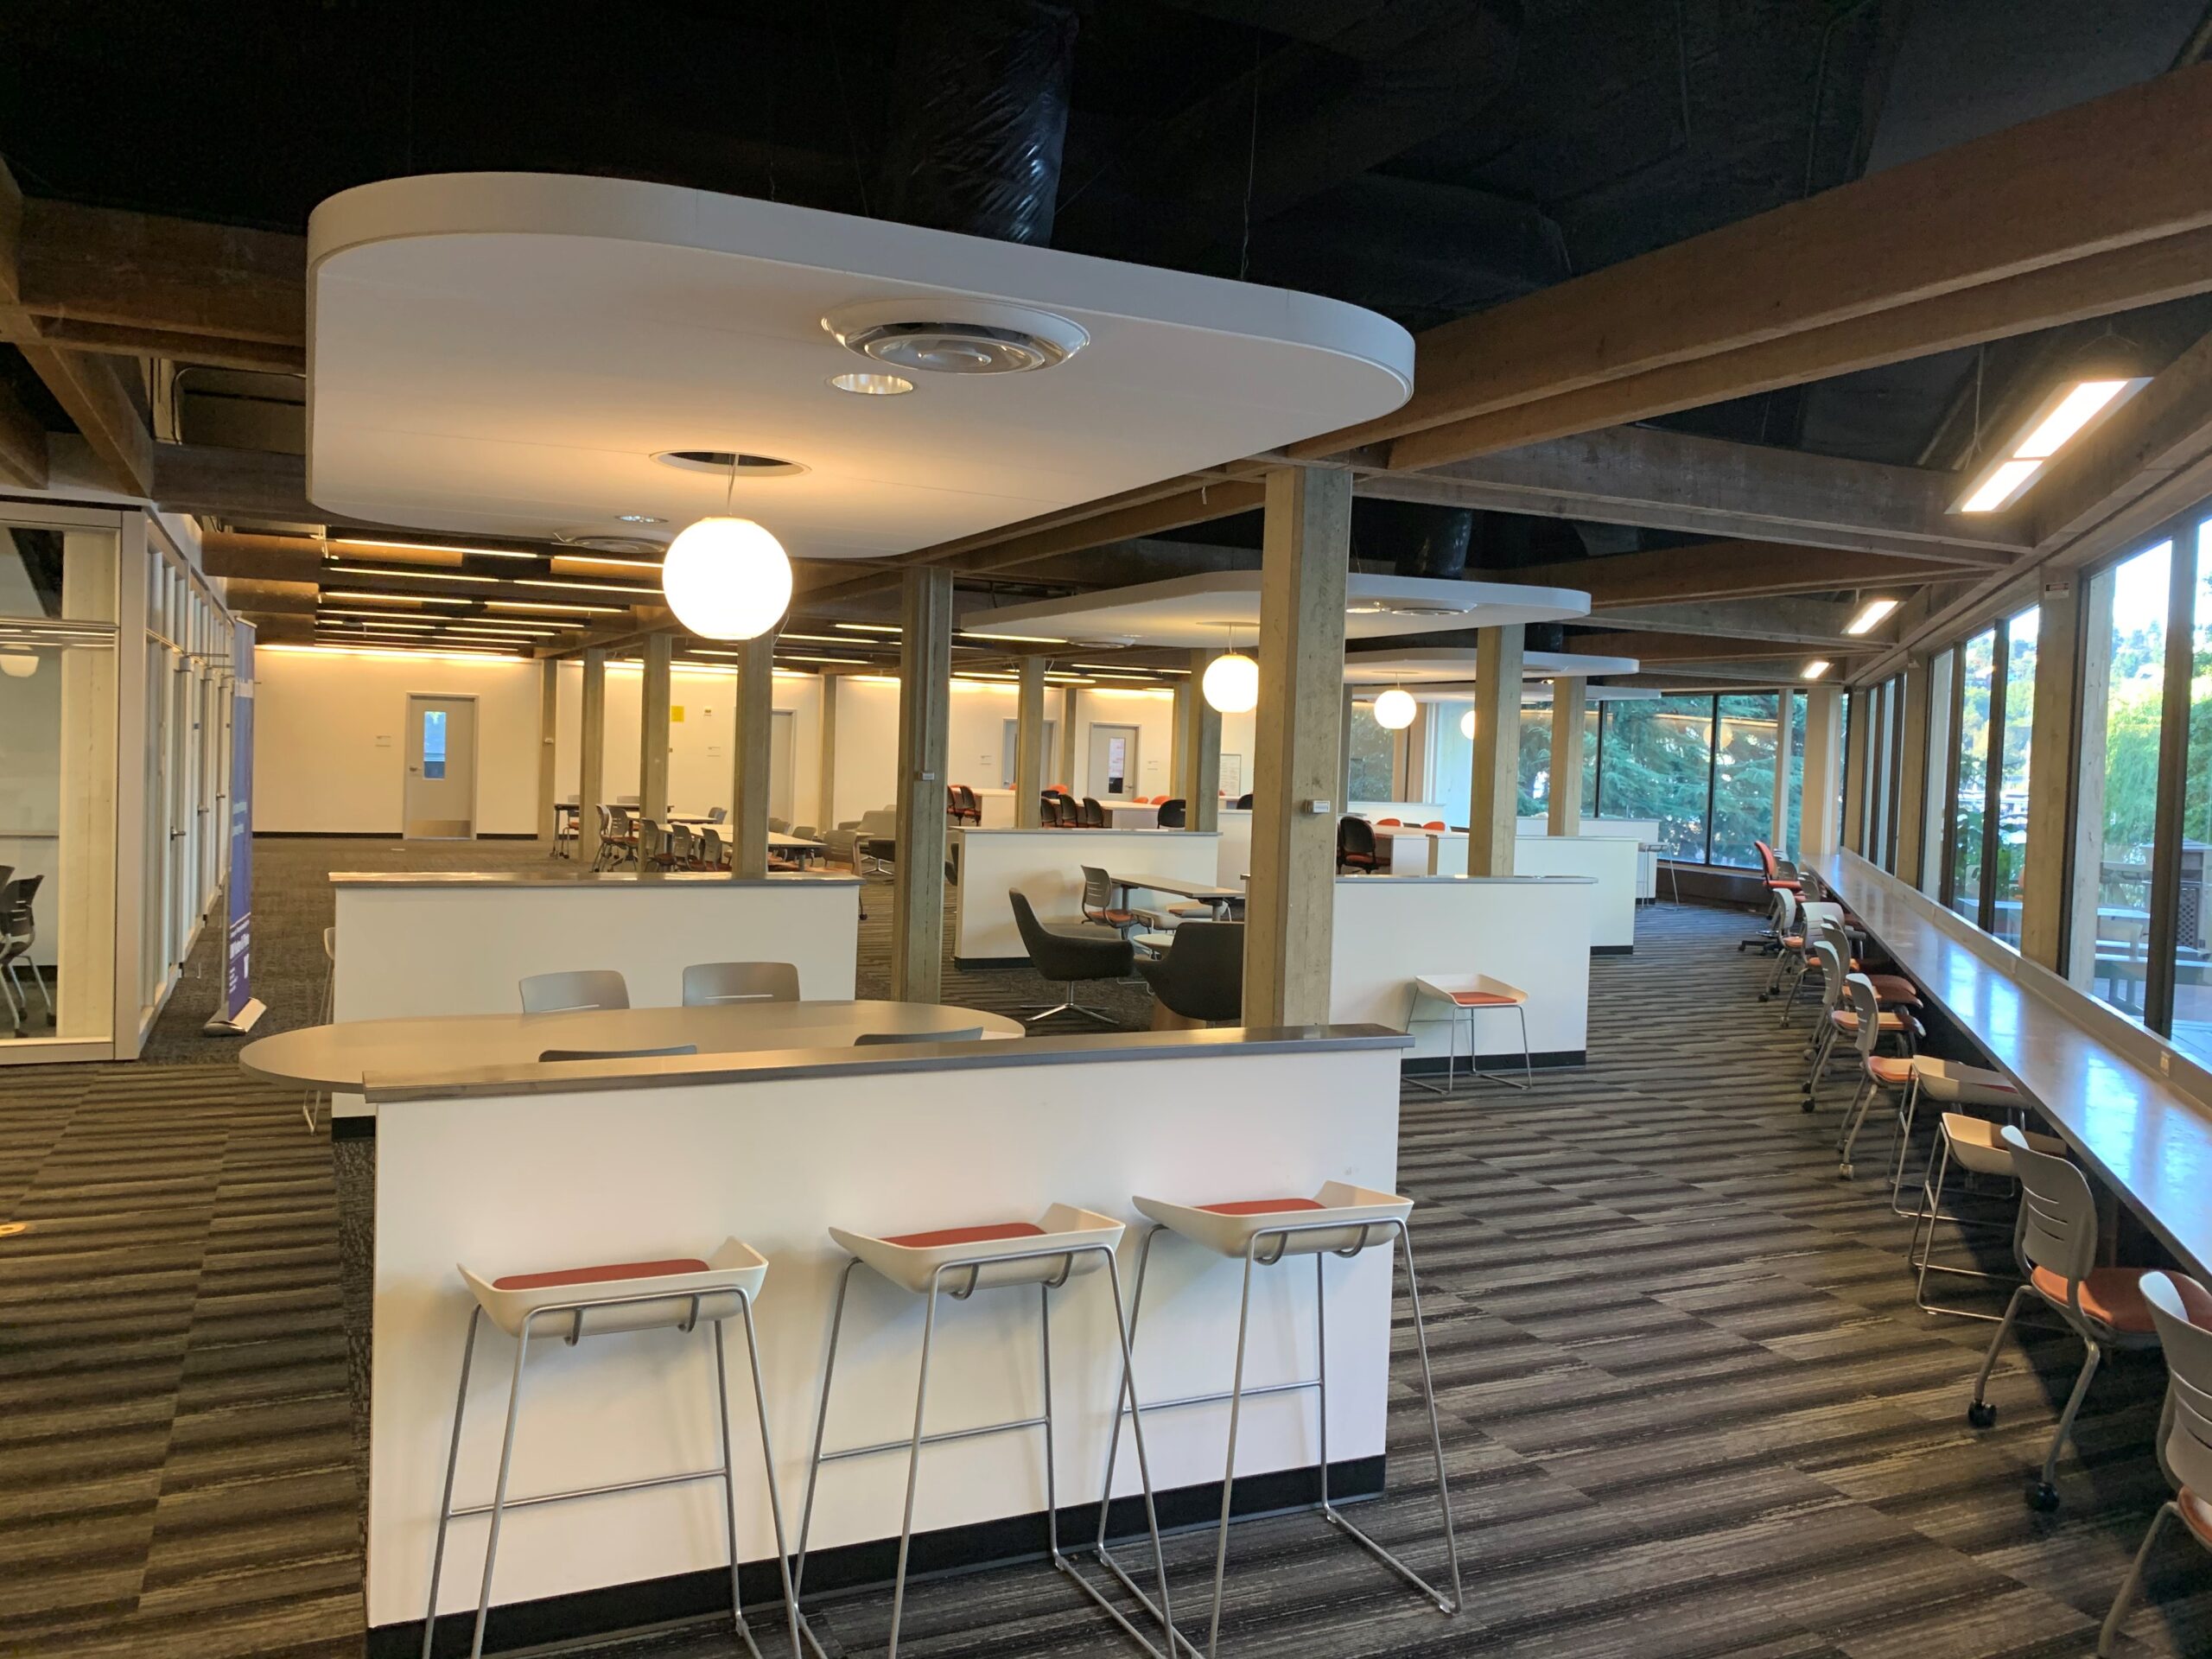
Vista Cafe/Terrace, located in UWS William H. Foege Building, is a special event space with a capacity of 139 people inside and 100 people outside.
Set Up Diagrams
Genome Vista Cafe Set Up Diagram
Vista Cafe Features
Genome Vista Cafe Features
139-person seating capacity inside
100-person seating capacity outside
Tables and chairs
N/A
Food and drink are permitted in this space.
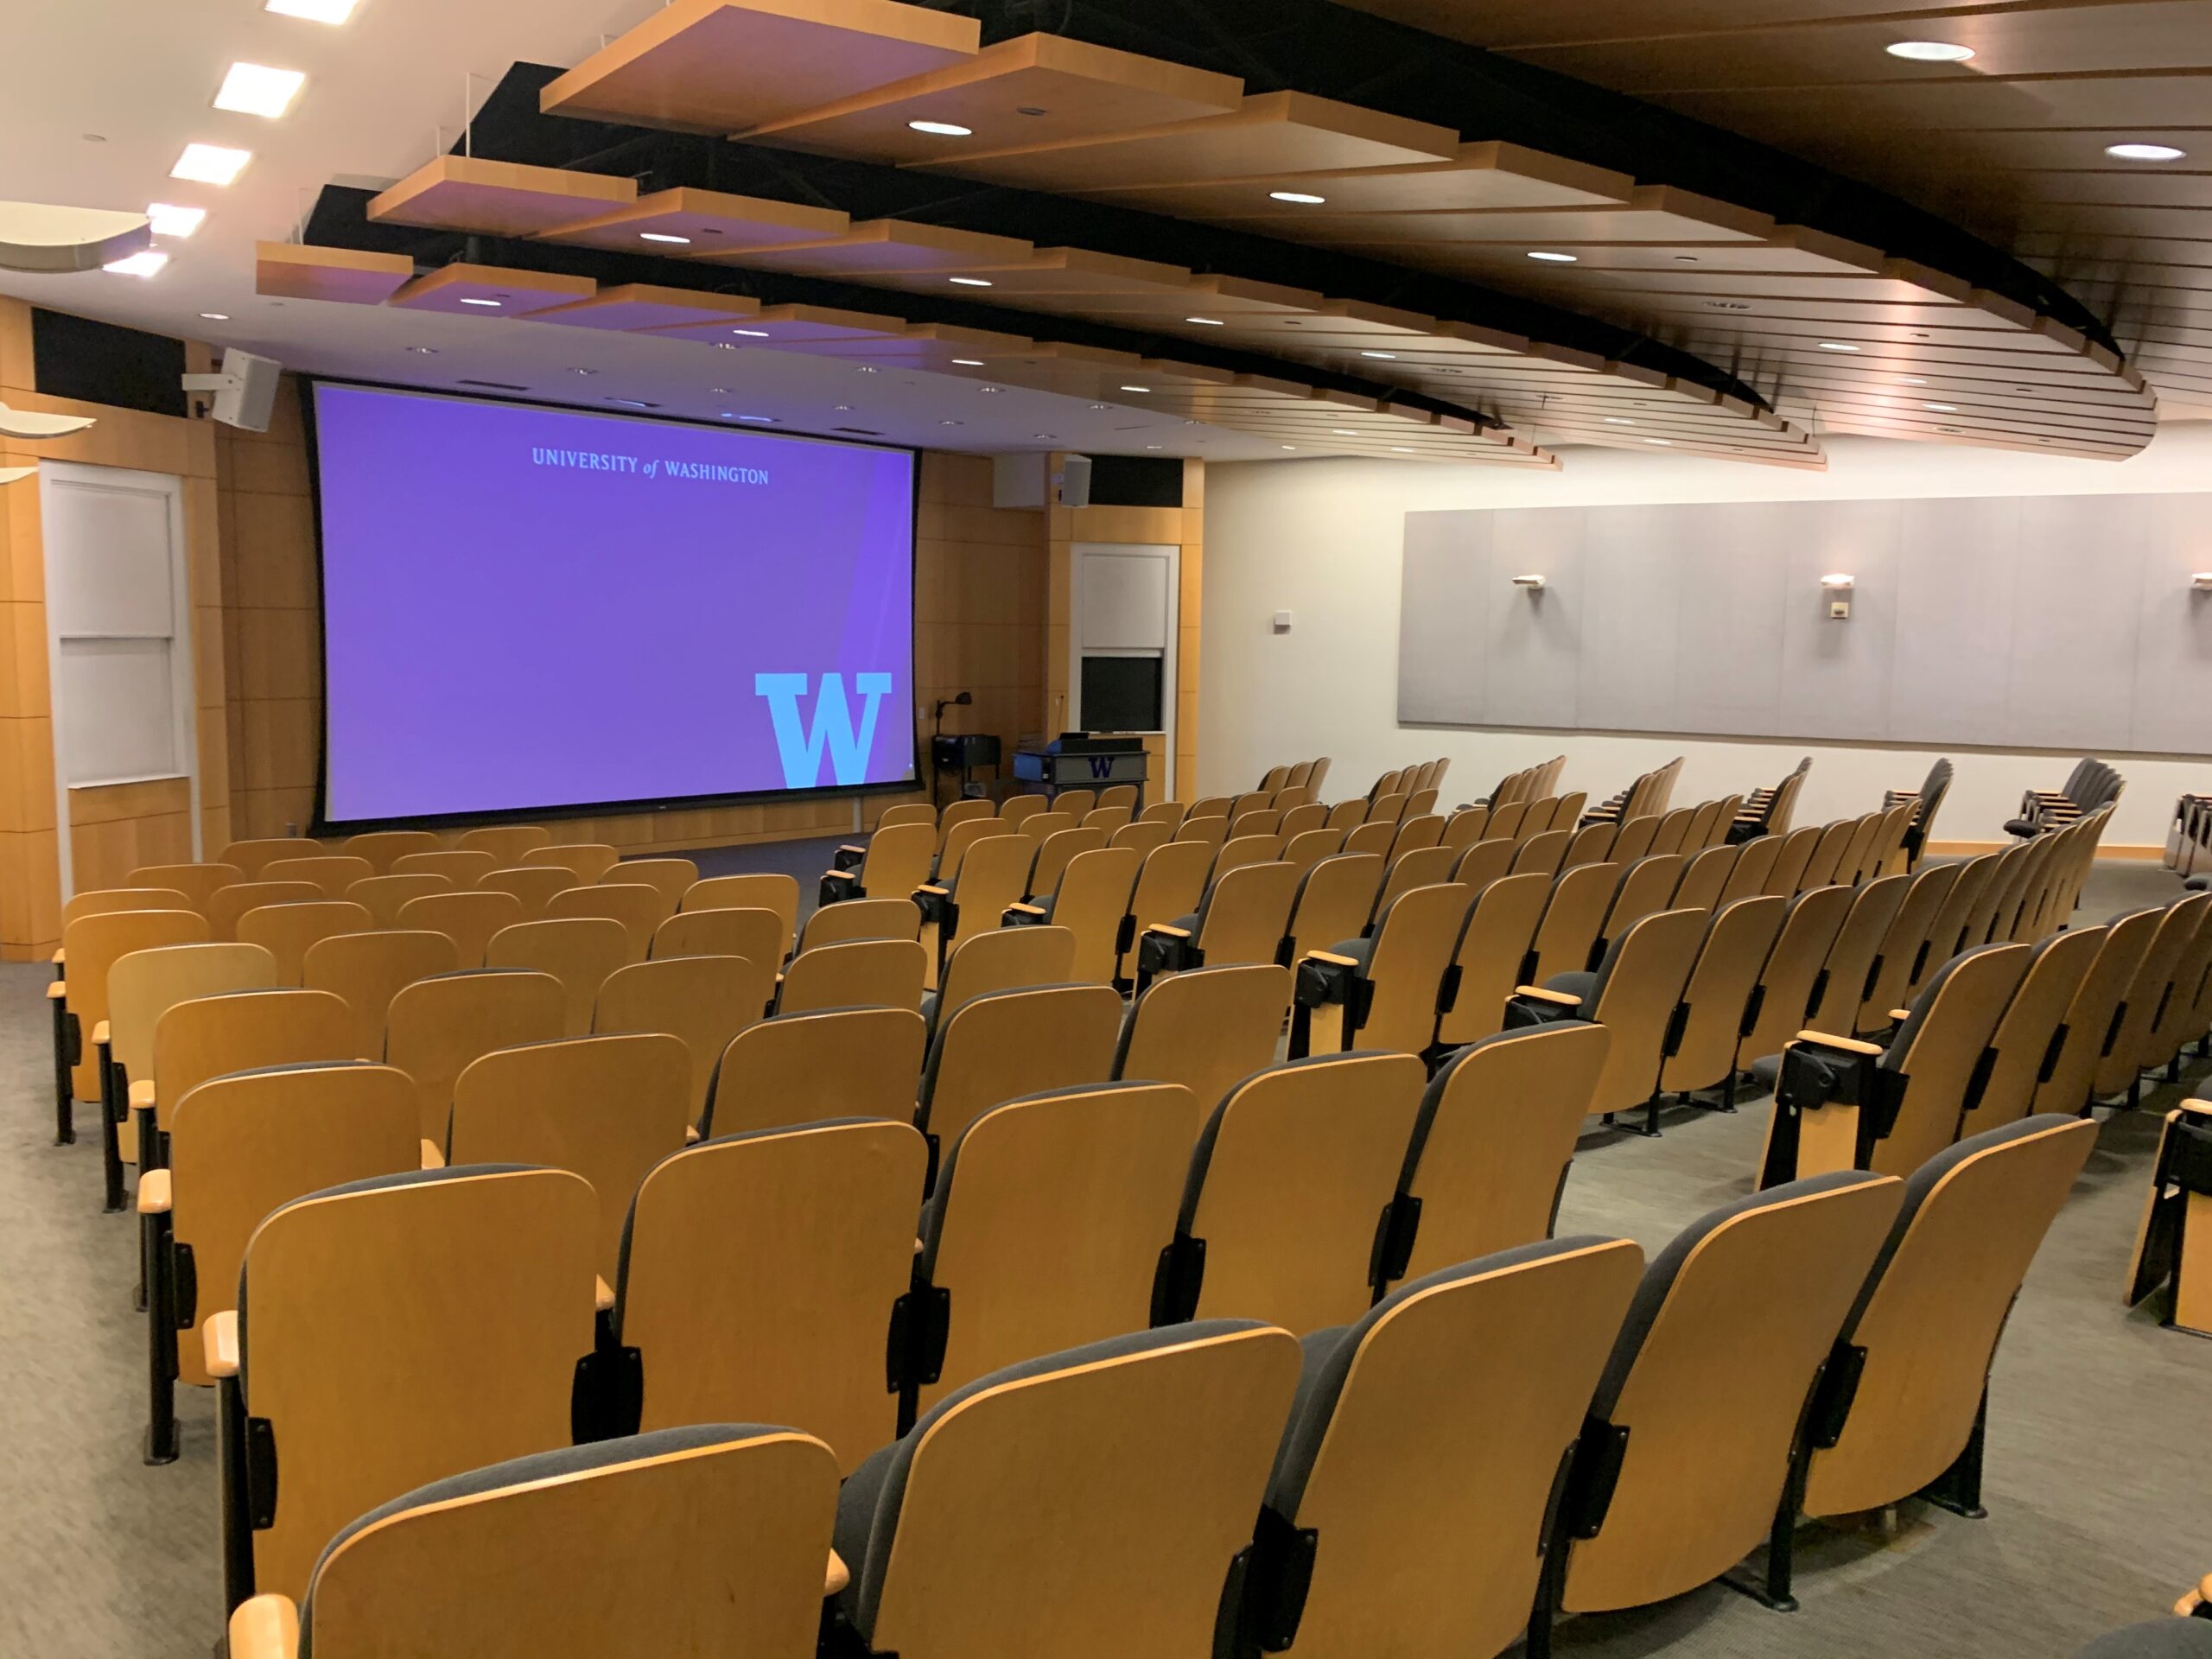
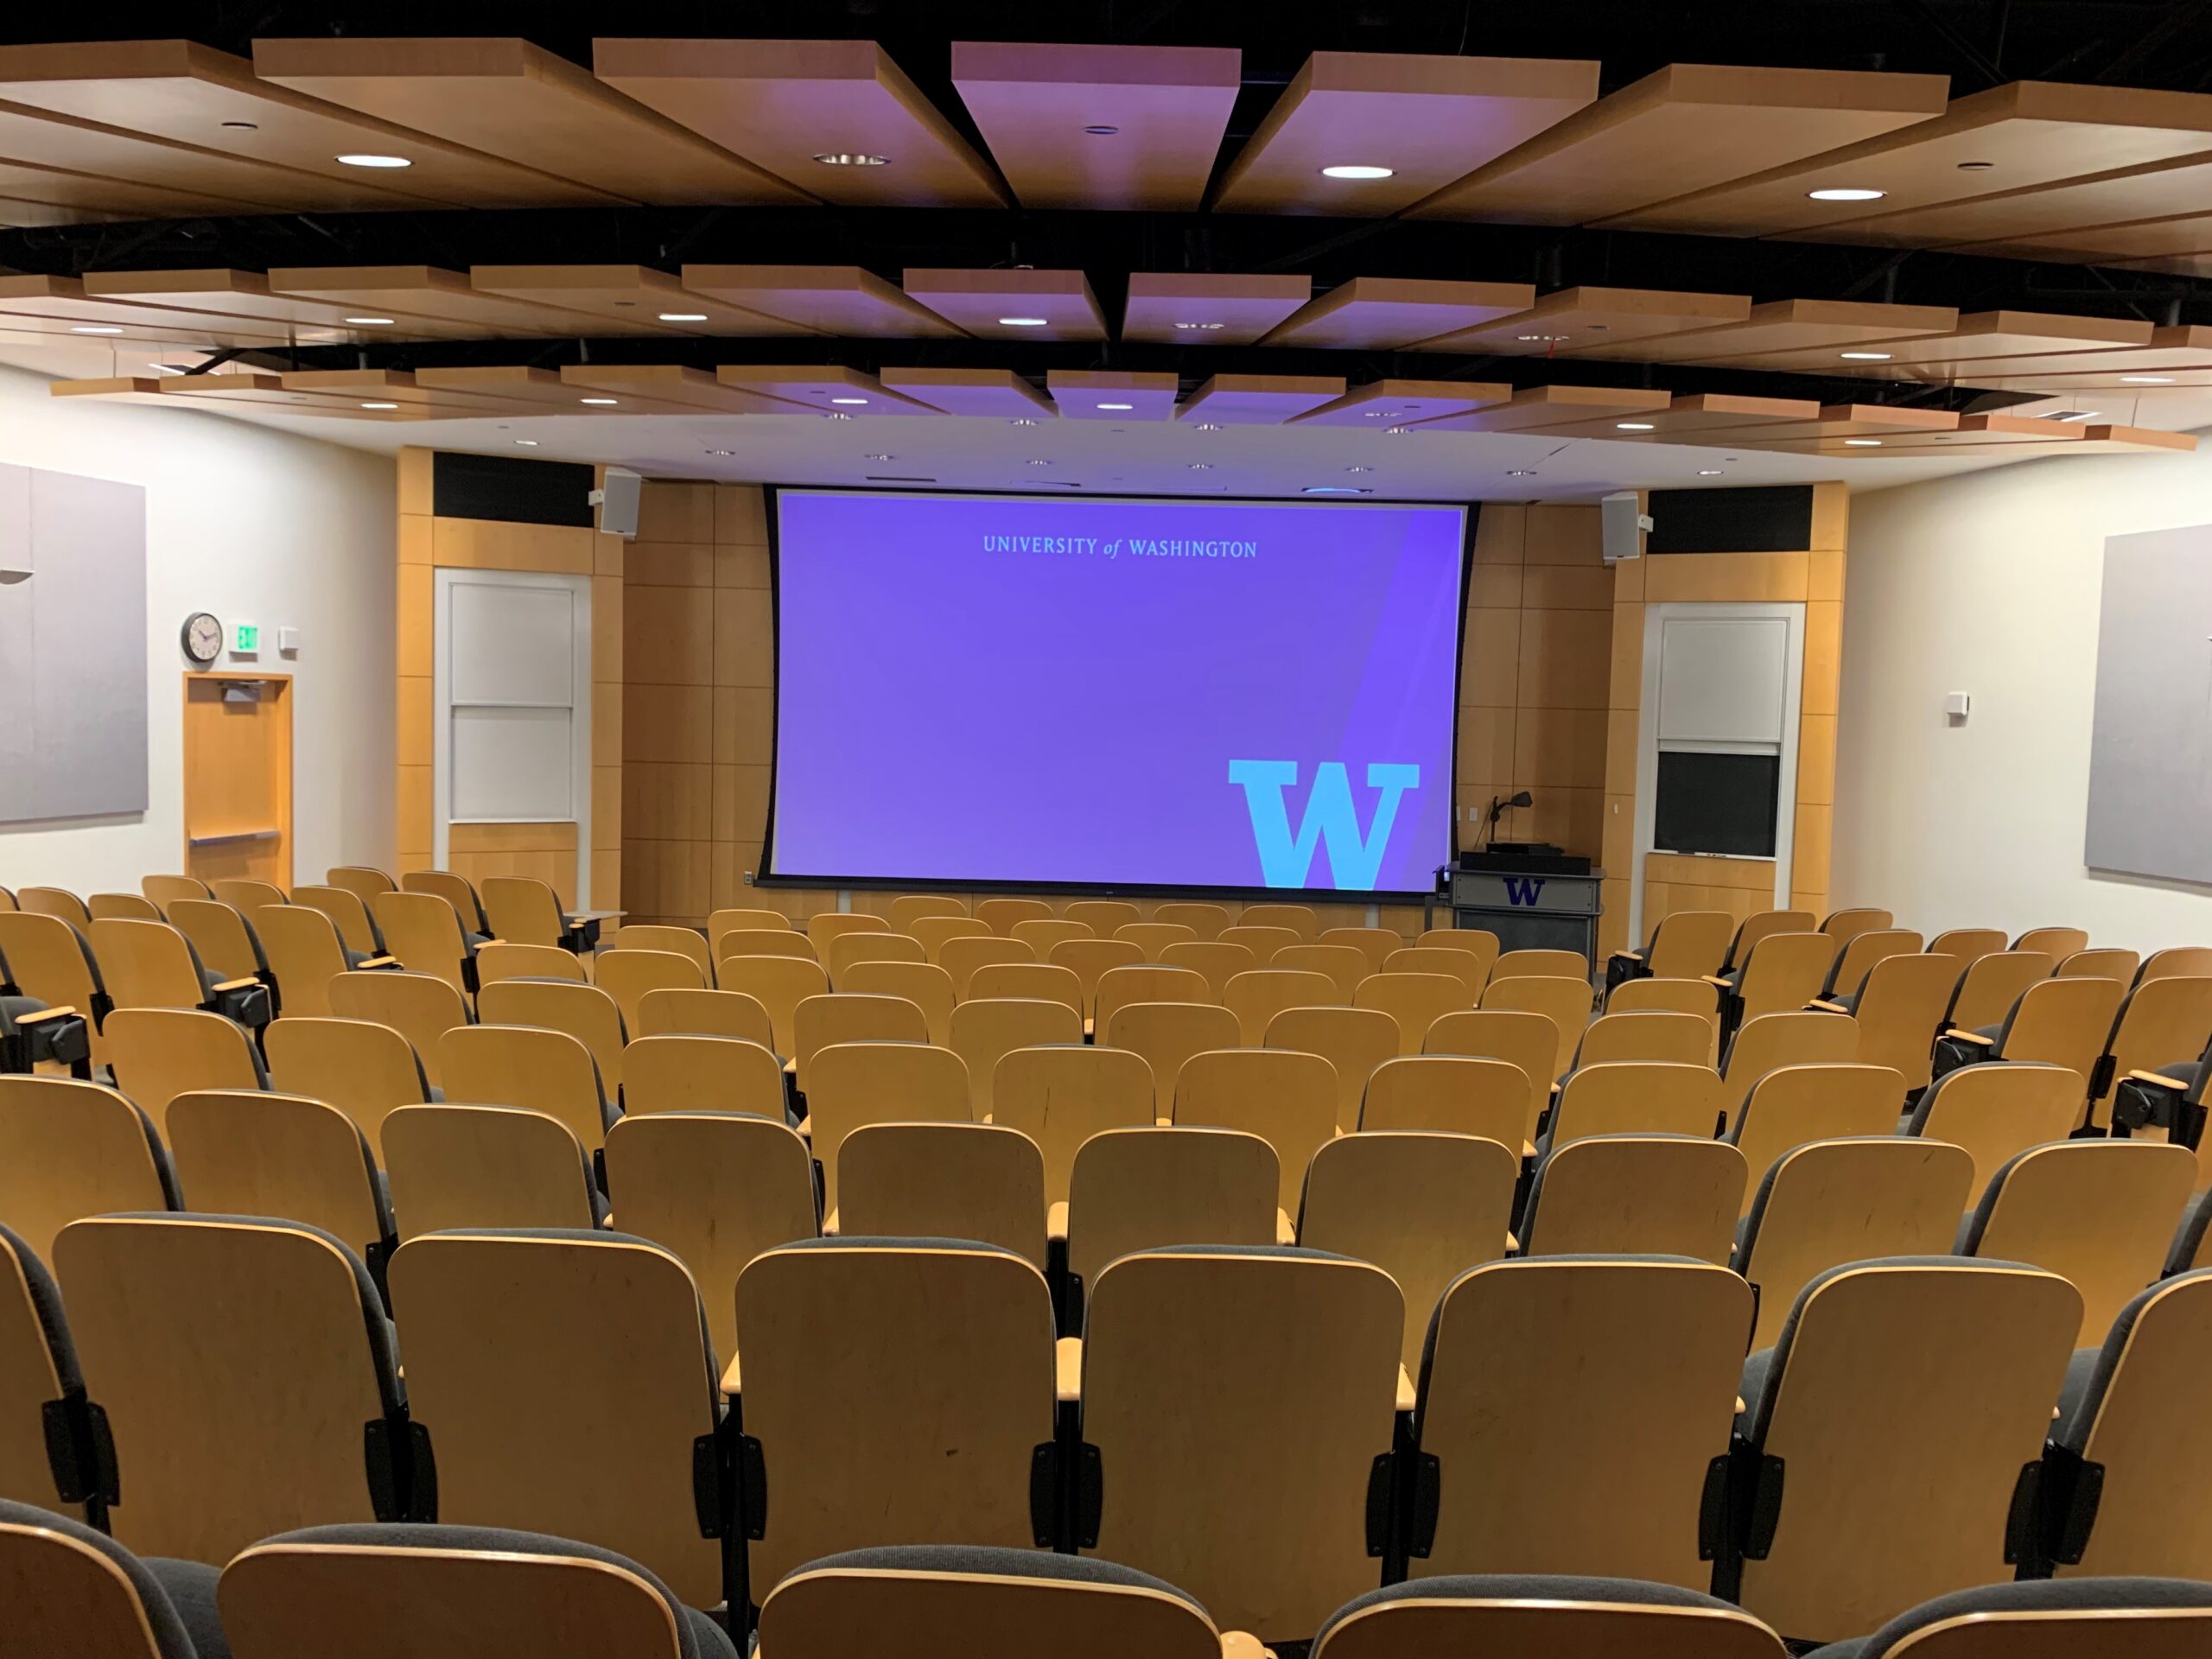
Genome S060 Foege Auditorium
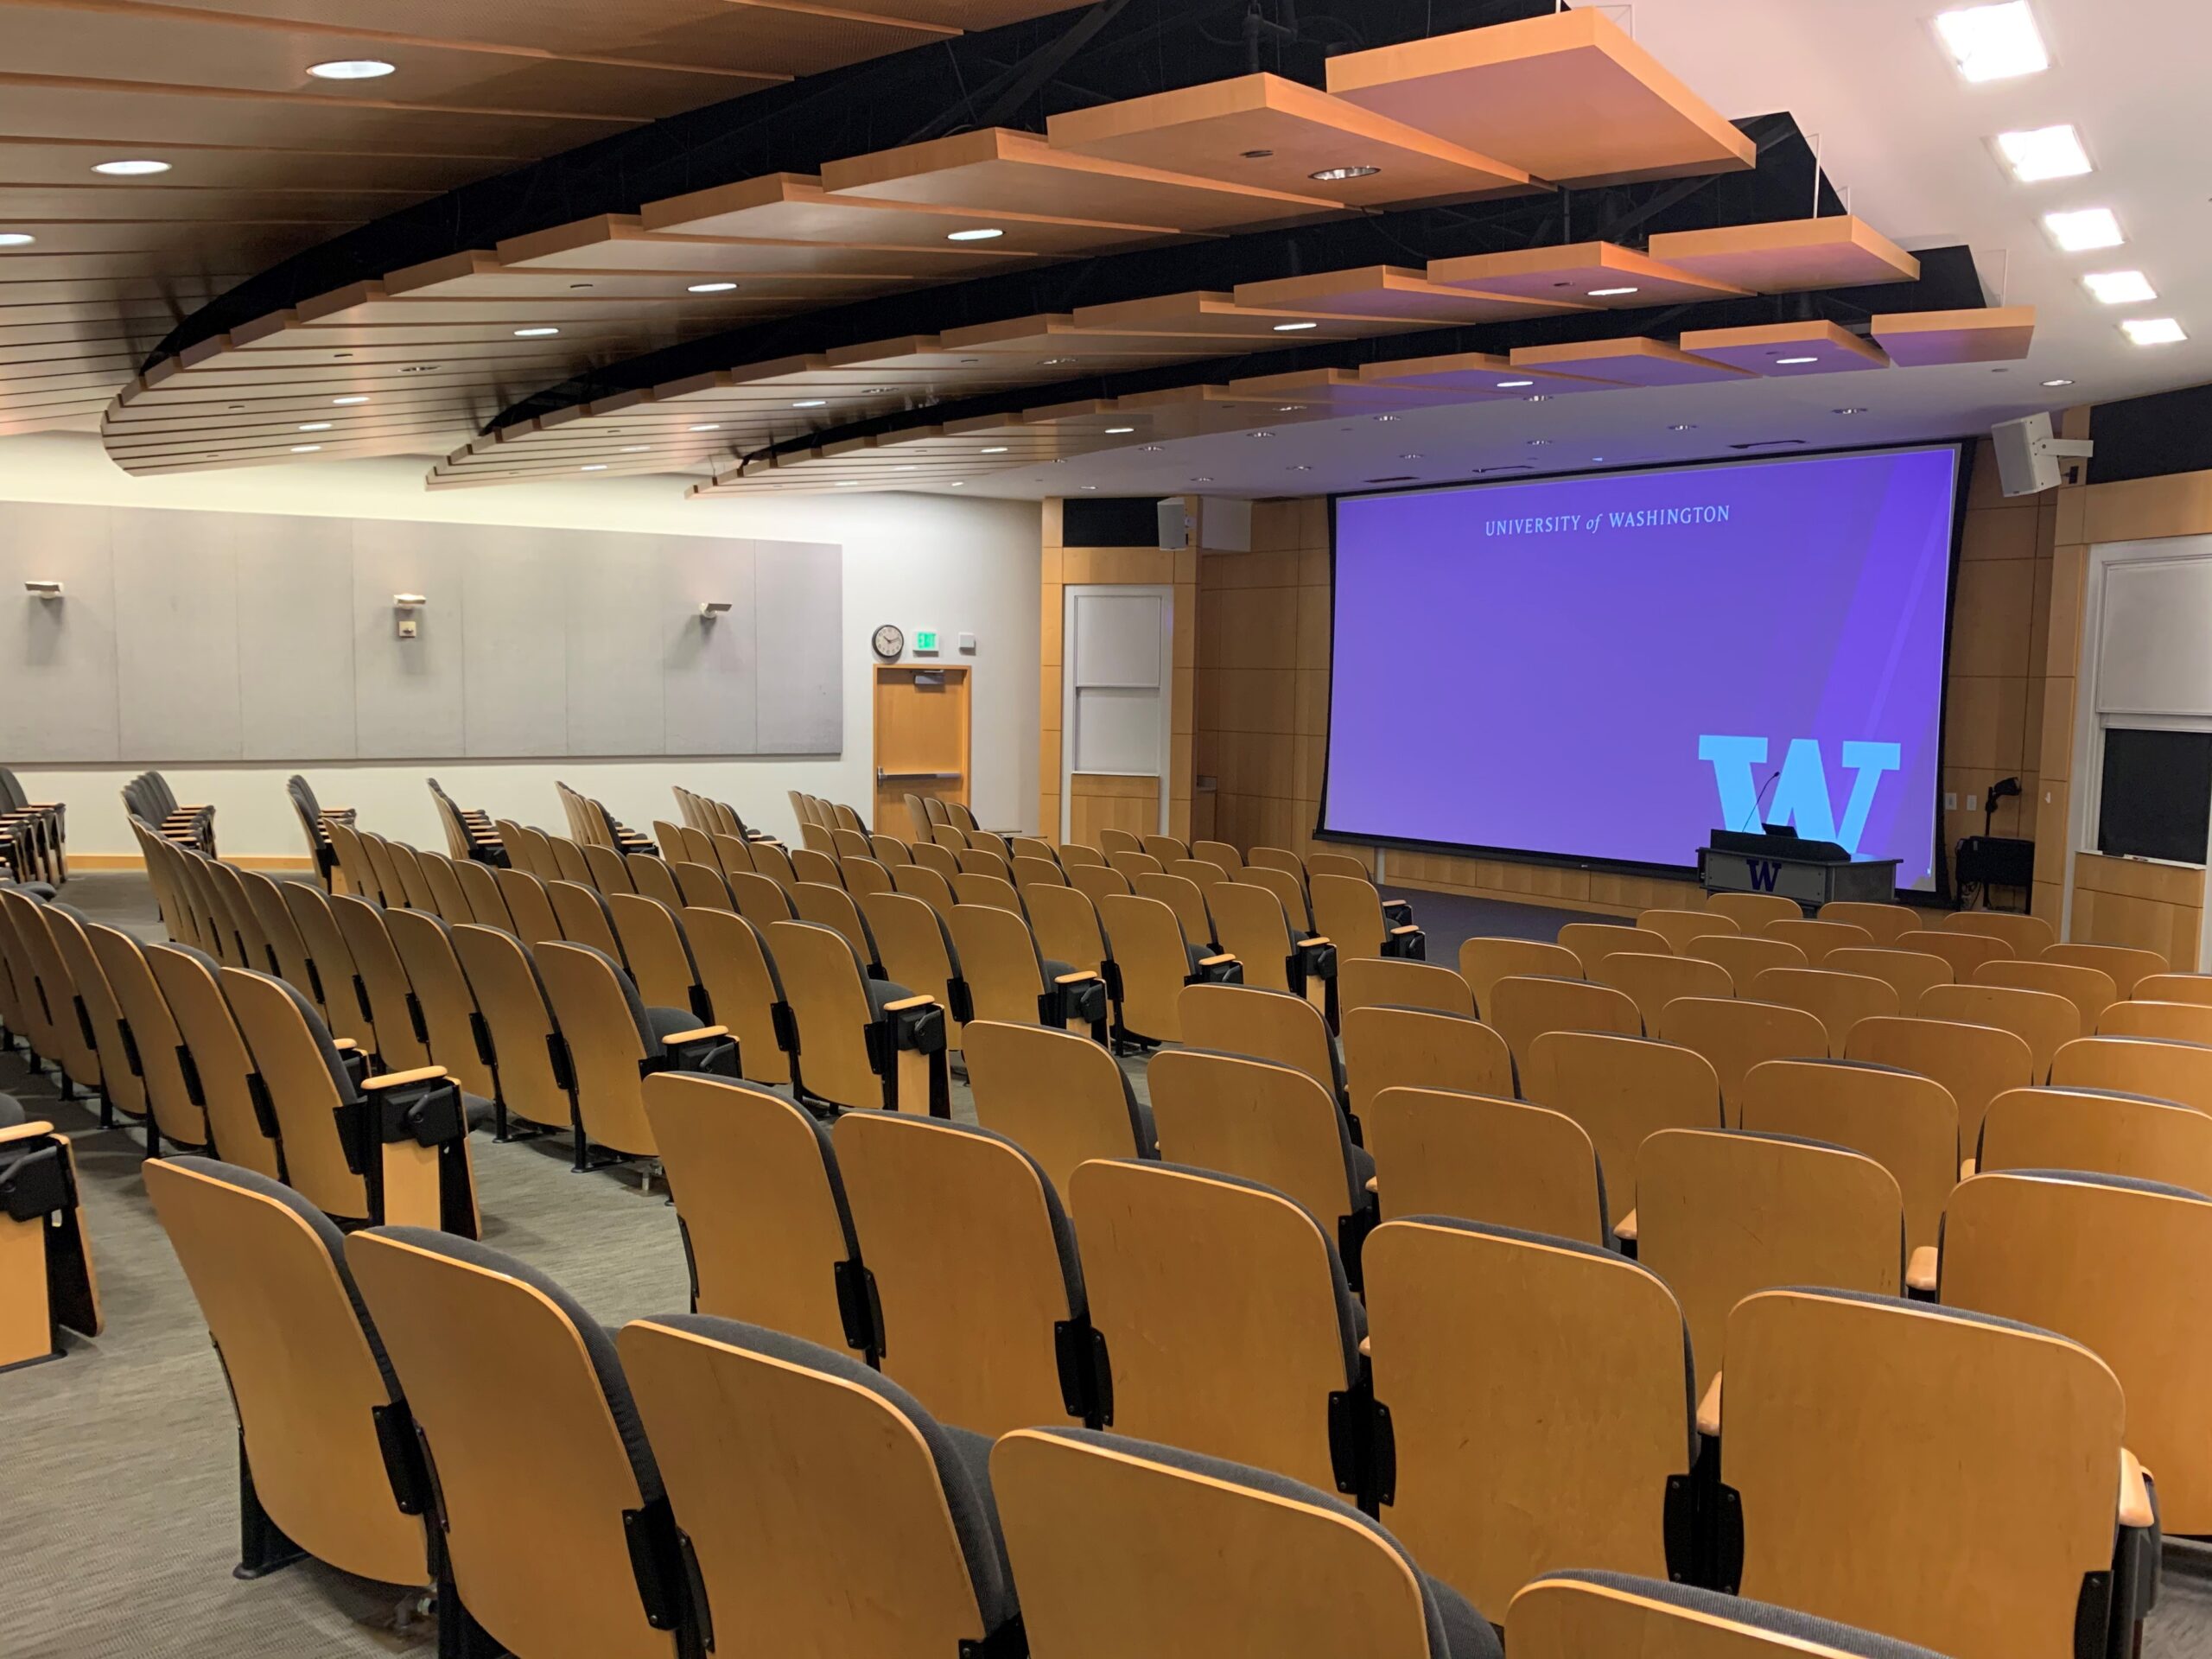
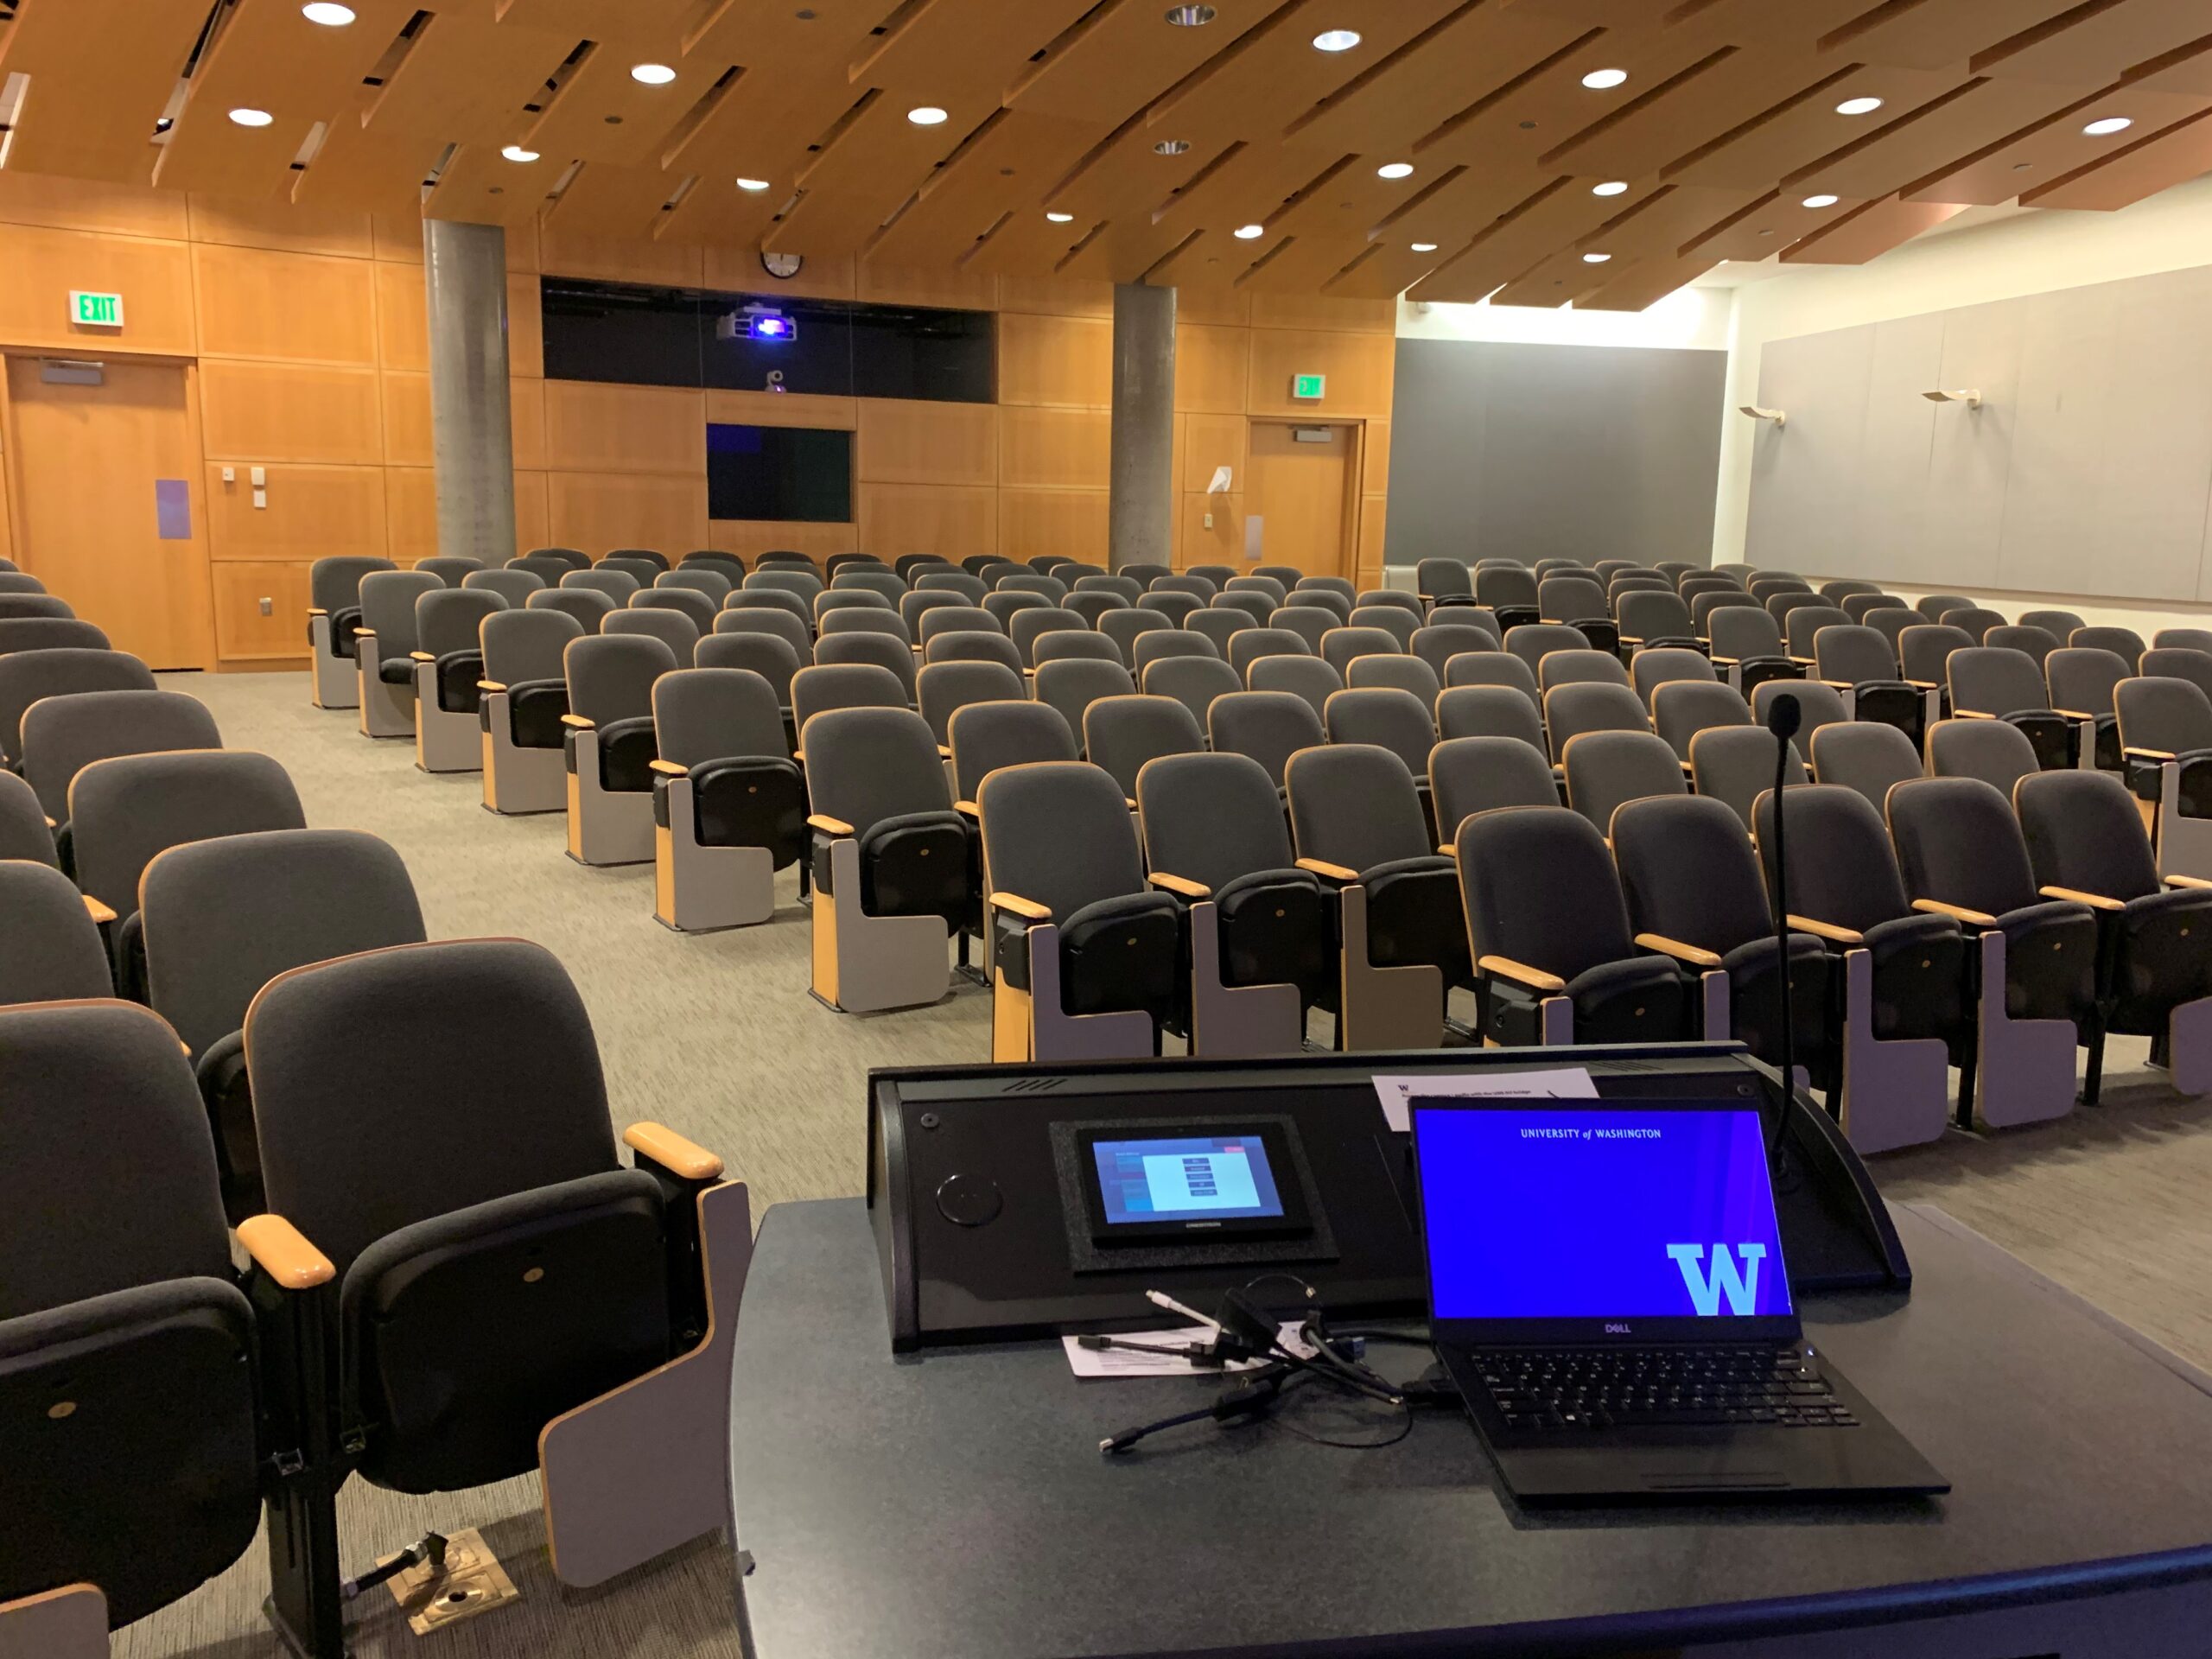
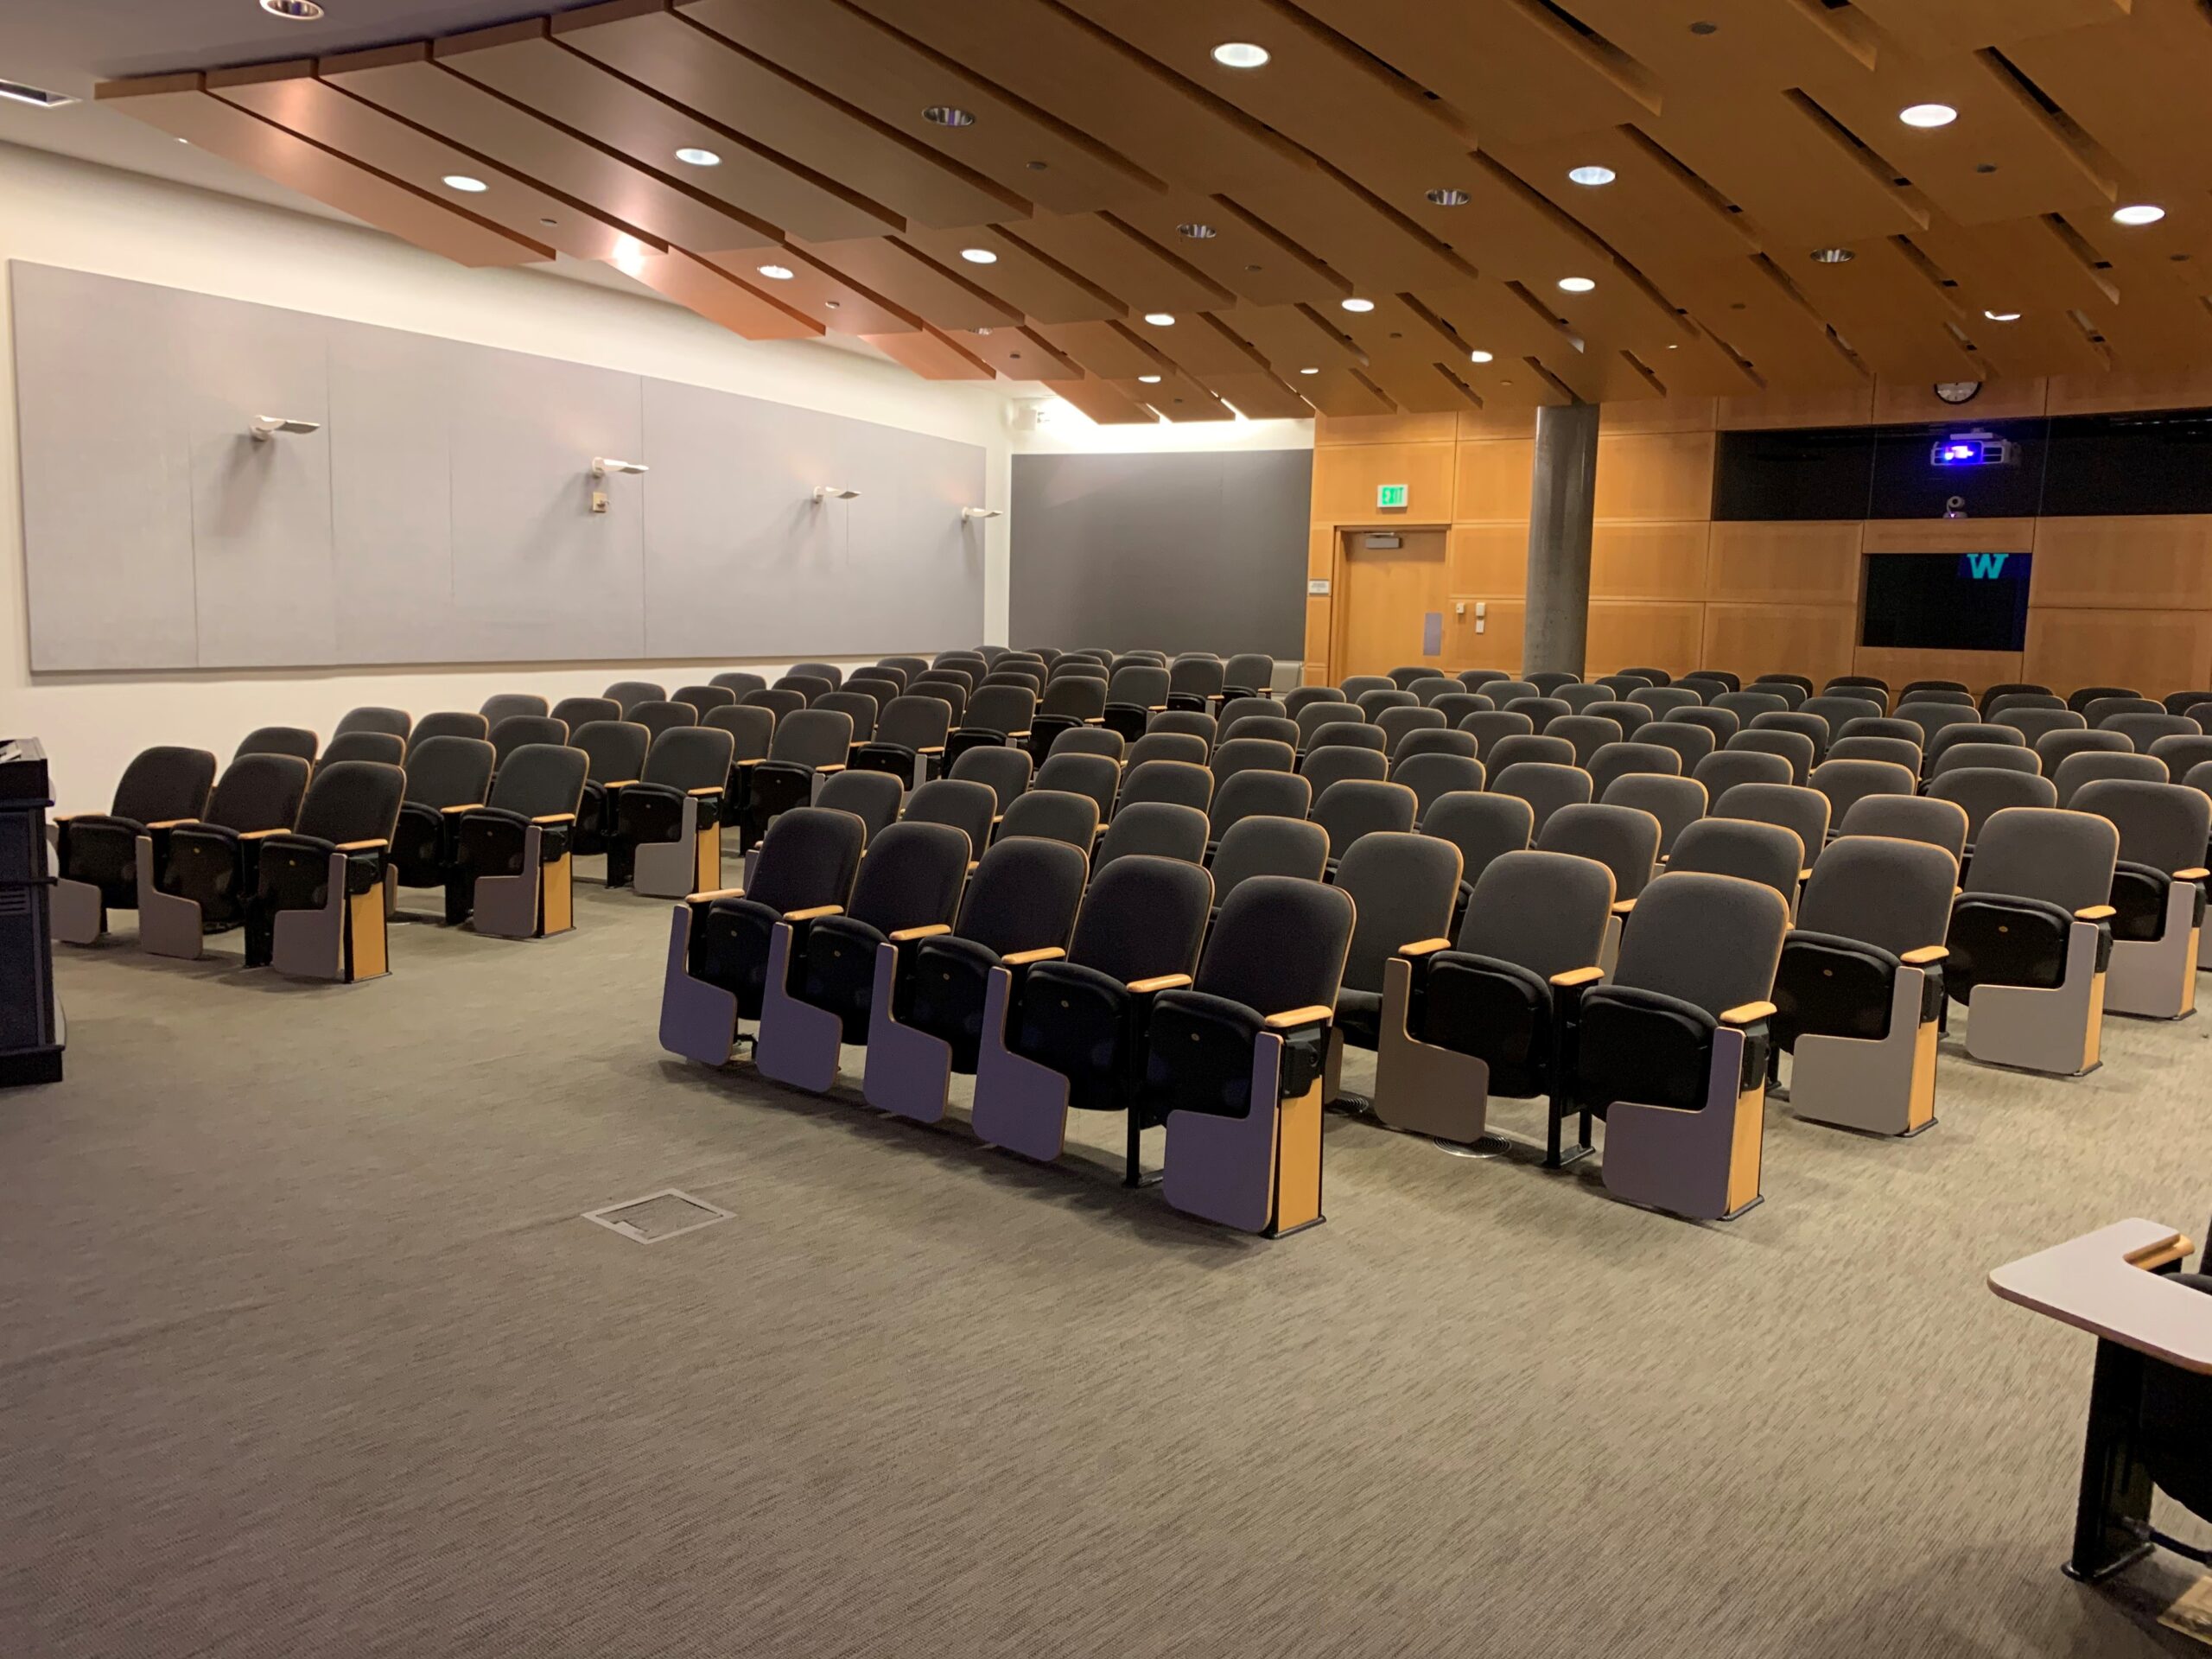
Foege Auditorium, located in UWS William H. Foege Building, is a general assignment lecture hall with seating for 194 people.
AV Tutorials
General Guide to Using Our Spaces
Basic Instructions
Turn on the room by touching the touch panel
Connect your device with the HDMI cable with adaptors to fit your device